
Oven-Dried Strawberries: A Sweet and Chewy Snack .
A naturally sweet, healthy treat perfect for snacking, topping yogurt, or adding to baked goods!
Naturally sweet, slightly chewy, and irresistibly delicious—these homemade oven-dried strawberries are the perfect healthy snack!
Whether you toss them into trail mix, sprinkle them over yogurt, or enjoy them by the handful, they’re a simple treat you’ll keep coming back to.
Ingredients:
Fresh strawberries (use as many as you like).
Instructions:
Preheat Oven – Set your oven to 200°F (95°C).
Prepare Strawberries – Wash and dry the strawberries thoroughly.
Slice Evenly – Cut them into thin, even slices (horizontally for better drying).
Arrange on a Baking Sheet – Line a baking sheet with parchment paper and place slices in a single layer without overlapping.
Bake Slowly – Bake for 2-3 hours, flipping halfway through, until strawberries are dried but still slightly chewy.
Cool & Store – Let them cool completely before storing in an airtight container.
Absolutely! Here’s a neatly written variations, storage, and serving suggestions section for your Oven-Dried Strawberries recipe:
Variations
Flavor Boost: Before baking, lightly sprinkle the strawberry slices with cinnamon, lemon zest, or a touch of vanilla sugar for extra flavor.
Sweet Touch: If your strawberries aren’t very sweet, dust them with a little coconut sugar or maple syrup before drying.
Mixed Fruit Chips: Combine with thin slices of bananas, kiwis, or apples for a colorful homemade dried fruit mix.
Chocolate-Dipped: Dip cooled dried strawberries halfway in dark chocolate for an indulgent twist.
Storage
Once cooled completely, store your oven-dried strawberries in an airtight container at room temperature for up to 1 week.
For longer freshness, store them in the refrigerator for 2–3 weeks or freeze them for up to 3 months.
Ensure they’re fully dried before storing to avoid moisture buildup.
Serving Suggestions
Snacks on the Go: Pack them in zip-top bags for a healthy, portable snack.
Yogurt or Oatmeal Topping: Crumble over Greek yogurt, smoothie bowls, or morning oats for natural sweetness.
Baked Goods: Fold them into muffins, granola bars, or even pancake batter.
Gift Idea: Package them in a mason jar with a ribbon for a homemade, healthy gift.
Cereal Mix: Toss into your favorite trail mix or cereal for a fruity twist.
Let me know if you’d like a graphic or printable card version to share!
-
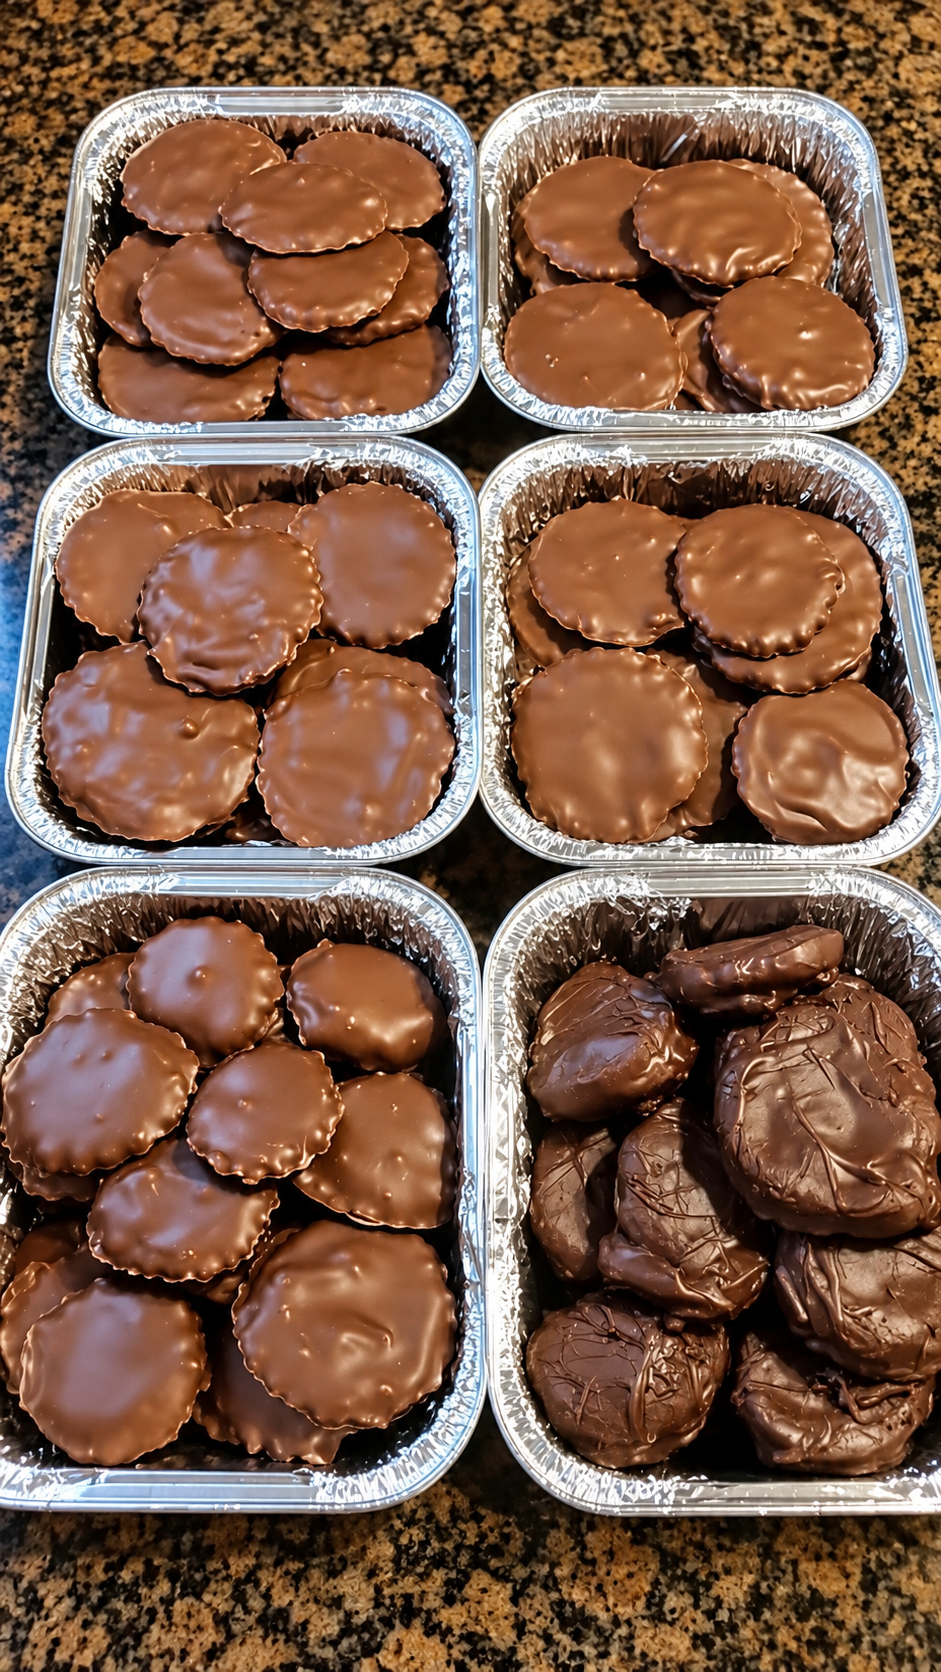
3-Ingredient Chocolate Peanut Butter Cracker Cookies
Ingredients 48 round buttery crackers: Choose evenly sized crackers so the sandwiches fit together neatly. ¾ cup creamy peanut butter: A regular, no-stir peanut butter makes a firm filling that stays in place. 16 ounces (454 g) chocolate candy coating: Use milk chocolate or dark chocolate flavored melting wafers. Instructions Line two baking sheets with…
-
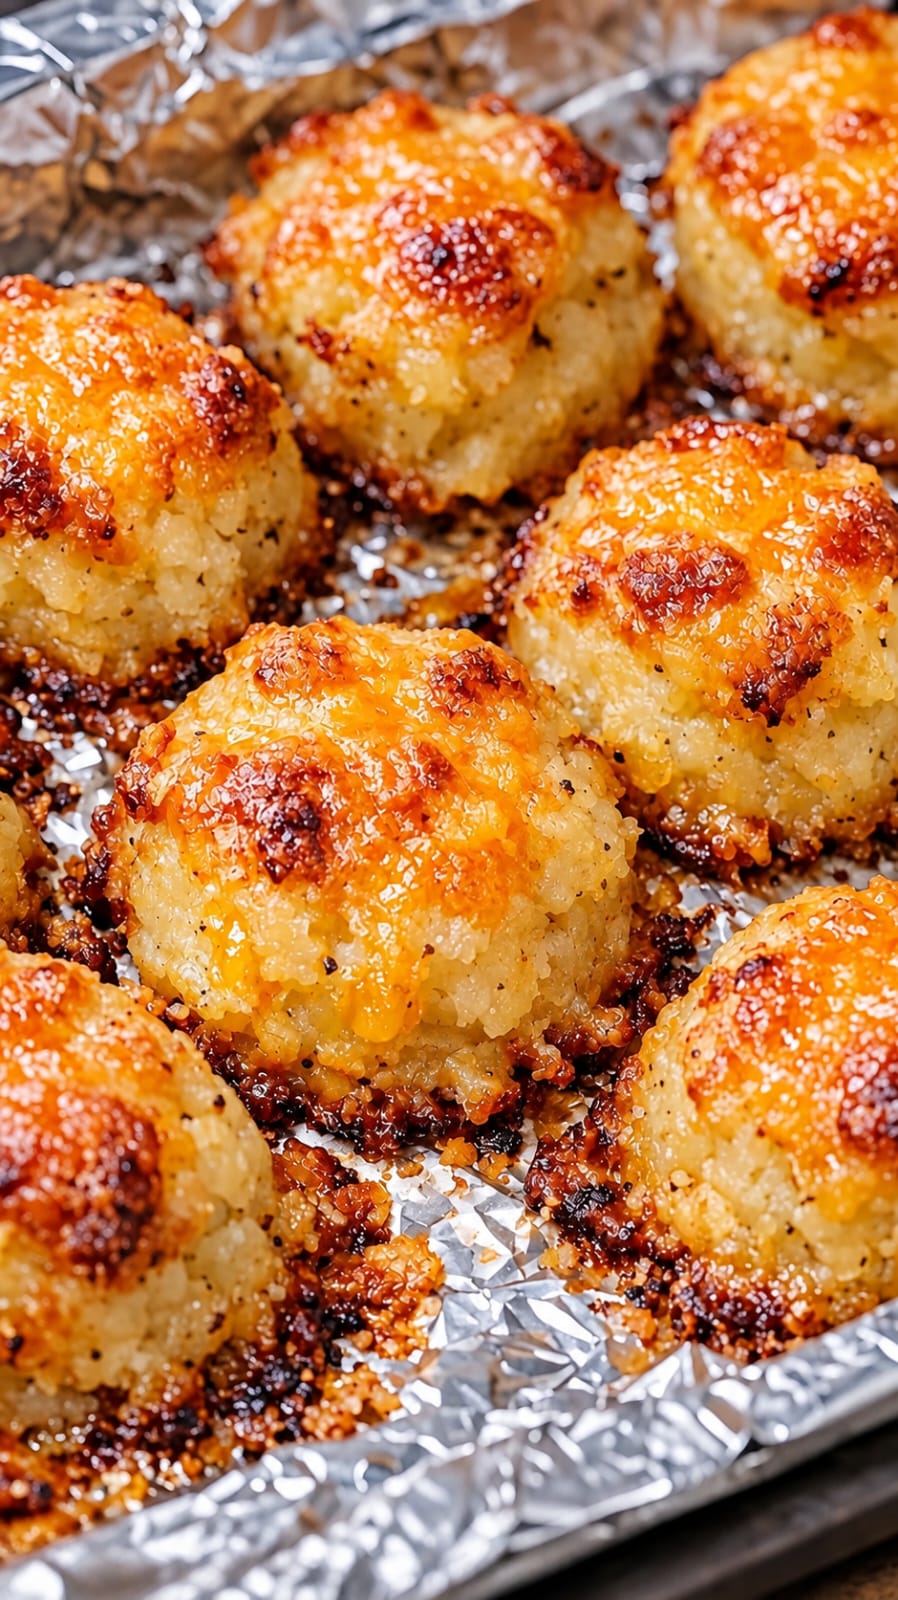
Golden Cheddar Parmesan potato puffs
Ingredients Potatoes: 3 cups cold, firm mashed potatoes, prepared without extra milk or cream. Cheddar: 1 cup shredded sharp cheddar cheese, divided. Parmesan: ½ cup finely grated Parmesan cheese, divided. Egg: 1 large egg, lightly beaten. Flour: ¼ cup all-purpose flour, plus 1–2 tablespoons if needed. Butter: 2 tablespoons melted unsalted butter. Garlic powder: 1…
-
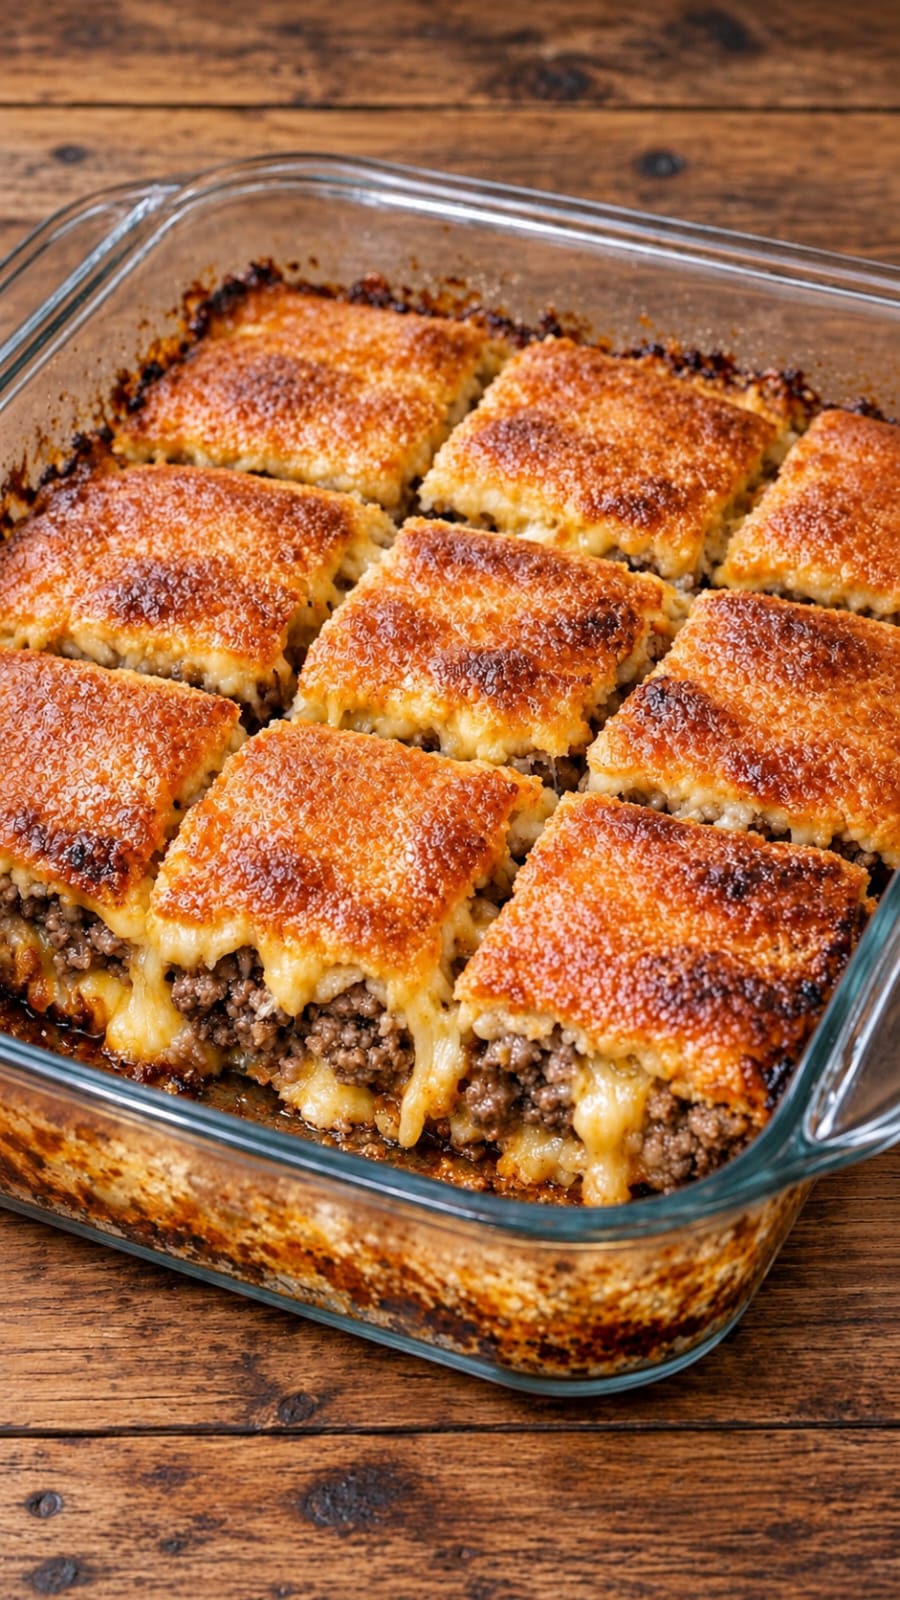
Cheesy beef Squares
Just 3 ingredients for these Southern Cheesy Beef Squares! 😍 Golden crescent dough, savory ground beef, and melted cheddar make an easy, comforting dinner. Slice into squares and serve warm! 🧀✨ Full recipe in the first comment! 👇 Southern 3-Ingredient Cheesy Beef Squares Ingredients Ground beef: 1 pound. Lean ground beef helps keep the filling…