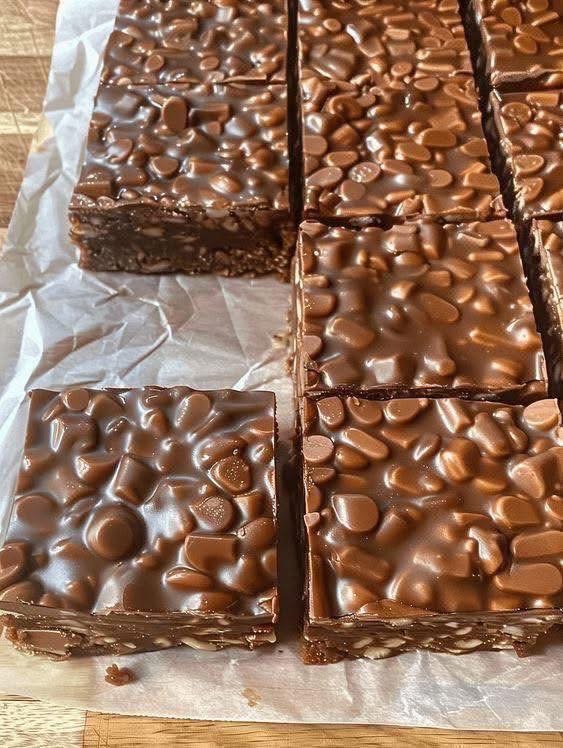
Introduction to Homemade Crunch Bars
Homemade Crunch Bars are one of the most satisfying no-bake treats you can make at home. They combine the irresistible crispiness of rice cereal with a rich blend of chocolate, peanut butter, and natural sweetener to create a bar that tastes like your favorite classic candy bar—but healthier, fresher, and completely customizable.
If you grew up loving those iconic chocolate crunch bars from the store, this recipe captures the nostalgia but elevates it with real, simple ingredients you can trust.
Whether you’re preparing an after-school snack, a freezer-friendly dessert, or a homemade gift for friends and family, these bars deliver big flavor with minimal effort.
The beauty of homemade crunch bars lies in their versatility. They fit seamlessly into a variety of dietary needs:
they can be made vegan, dairy-free, gluten-free, paleo-friendly, or even keto-adaptable depending on the ingredients you choose.
And unlike store-bought versions packed with oils, preservatives, and excess sugar, these bars rely on wholesome ingredients like peanut butter, maple syrup, and coconut oil.
With just a bowl, a spatula, and a baking dish, you’ll have a batch of chocolatey, crunchy goodness ready in no time.
Why This Homemade Crunch Bars Recipe Works
This recipe works beautifully because it balances flavor, texture, and simplicity. First, the combination of crispy rice cereal with a melted chocolate-peanut butter mixture creates a bar that is both satisfyingly crunchy and decadently smooth.
The chocolate offers richness, the peanut butter adds creaminess and depth, and the maple syrup brings natural sweetness without overpowering the other flavors. Coconut oil binds everything together while helping the bars firm up in the refrigerator.
Another key reason this recipe succeeds is the no-bake method. This ensures the crispy rice cereal keeps its crisp texture instead of becoming soggy or stale. It also makes the recipe approachable for beginners and convenient for anyone who wants a fast dessert without turning on the oven.
By melting the wet ingredients together and pouring them over the rice cereal, you get perfect distribution of chocolate and peanut butter in every bite.
Additionally, this recipe is incredibly flexible: you can swap ingredients to fit dietary preferences, adjust sweetness levels, or even incorporate add-ins like nuts or dried fruit. The ingredient ratios are precise enough to guarantee structure but forgiving enough to welcome creativity.
That’s why these bars always set beautifully, slice cleanly, and maintain their crunch even after chilling.
What You’ll Need for This Recipe
To create the best homemade crunch bars, the tools and ingredients you use truly matter. Thankfully, the list is short and straightforward, making this recipe accessible to all skill levels. For equipment, you’ll need a mixing bowl, a spatula, and an 8×8-inch baking dish lined with parchment paper. A microwave or stovetop can be used for melting the chocolate mixture, giving you flexibility based on your kitchen setup.
The ingredients themselves are pantry staples for many households. Crispy rice cereal provides the foundation—its light and airy texture is essential for that signature crunch.
Chocolate chips add richness; you can choose paleo vegan chocolate chips, classic semi-sweet, or even sugar-free options. Peanut butter supplies creaminess and flavor depth, but any nut or seed butter works if you need to swap for allergies or personal preference.
Maple syrup brings natural sweetness and helps everything stick together, though keto maple syrup is an excellent low-carb alternative. Lastly, coconut oil aids in smooth melting and firming the bars once chilled. Every ingredient works harmoniously to create the perfect consistency and flavor profile.
How to Make Homemade Crunch Bars Step by Step
To begin, prepare your baking dish by lining an 8×8-inch pan with parchment paper. This step is essential for easy removal later—without it, the bars may stick to the edges or bottom. Once the pan is lined, set it aside while you move on to the mixing process.
In a large mixing bowl, pour in your three cups of crispy rice cereal. Make sure the bowl is large enough to allow gentle folding without crushing the cereal too much. Set the bowl aside while you prepare the melted mixture.
In a separate microwave-safe dish or small saucepan over low heat, combine your chocolate chips, peanut butter, maple syrup, and coconut oil. Heat gently, stirring in 20-second intervals if using the microwave, or continuously over the stovetop to prevent burning. When everything is melted, whisk until smooth and glossy.
Once the mixture is completely melted and evenly combined, pour it over the crispy rice cereal. Using a spatula, fold the ingredients together until every piece of cereal is coated with the chocolate-peanut butter mixture. Take your time during this step to avoid crushing the cereal while still ensuring thorough coating.
Transfer the mixture into the prepared baking pan and press it down gently to create an even layer. Refrigerate for at least one hour, or until the bars are firm. Once set, remove from the fridge, lift the block of bars out using the parchment, and cut into squares or rectangles.
Tips and Tricks for Perfect Homemade Crunch Bars
To ensure this recipe yields flawless crunch bars every time, a few helpful tips can make all the difference. First, always use fresh, crisp rice cereal. Stale cereal leads to soft, chewy bars instead of the desirable crunchy texture. When melting the chocolate mixture, avoid overheating—the ingredients should be warm enough to blend smoothly but not so hot that they scorch or separate. Coconut oil helps with smooth melting, so don’t skip it unless you’re substituting with butter, which also works well.
When mixing, fold gently to coat the cereal without crushing it. Pressing the mixture into the pan too firmly can compact the cereal and reduce the airy crunch, so apply gentle but even pressure. Refrigerate for long enough to ensure proper firmness; rushing this step may cause the bars to fall apart when sliced. For clean, sharp cuts, use a sharp knife dipped in warm water and wiped dry between slices.
If you want to personalize your bars, feel free to add mix-ins such as mini marshmallows, shredded coconut, crushed nuts, or dried fruit. For a salted chocolate twist, sprinkle flaky sea salt on top before refrigerating. And if you plan to store them for more than a few days, keep them in an airtight container in the fridge or freezer to maintain their texture.
More Tips for Recipe Success
Another key element to achieving the perfect crunch bar texture is maintaining the proper ingredient ratios. Too much nut butter can make the bars soft, while too little can cause crumbling. Similarly, increasing the maple syrup adds sweetness but can also make the bars stickier and slower to firm up. Stick closely to the recipe the first time you make it, then experiment based on your preference.
Be mindful of the type of chocolate you choose. Dark chocolate yields a richer, less sweet bar, while milk or semi-sweet chocolate creates a more classic candy-bar flavor. Vegan and paleo chocolate chips work seamlessly, but they often melt faster, so stir constantly to avoid burning. Always allow the mixture to cool slightly before pouring over cereal to avoid softening it prematurely.
-

It looks like I’ve had cosmetic surgery”: a home remedy used to improve the appearance
Your hands work hard every day. From cooking and cleaning to typing and driving, they rarely get a break. Because of this constant use, the skin on the hands often shows signs of aging before other parts of the body. Many people notice dryness, fine lines, rough texture, and a loss of softness as they…
-

TOMATO JUICE BENEFITS FOR HEALTH: THE RED DRINK THAT BOOSTS YOUR HEART, SKIN & MORE
Here is a rewritten and expanded version organized into 20 clear paragraphs: Tomato juice is often overlooked compared to popular health drinks like green juice or coconut water, yet it offers a dense nutritional profile that has attracted growing scientific interest. Made from pressed and sometimes cooked tomatoes, tomato juice retains many of the beneficial…
-
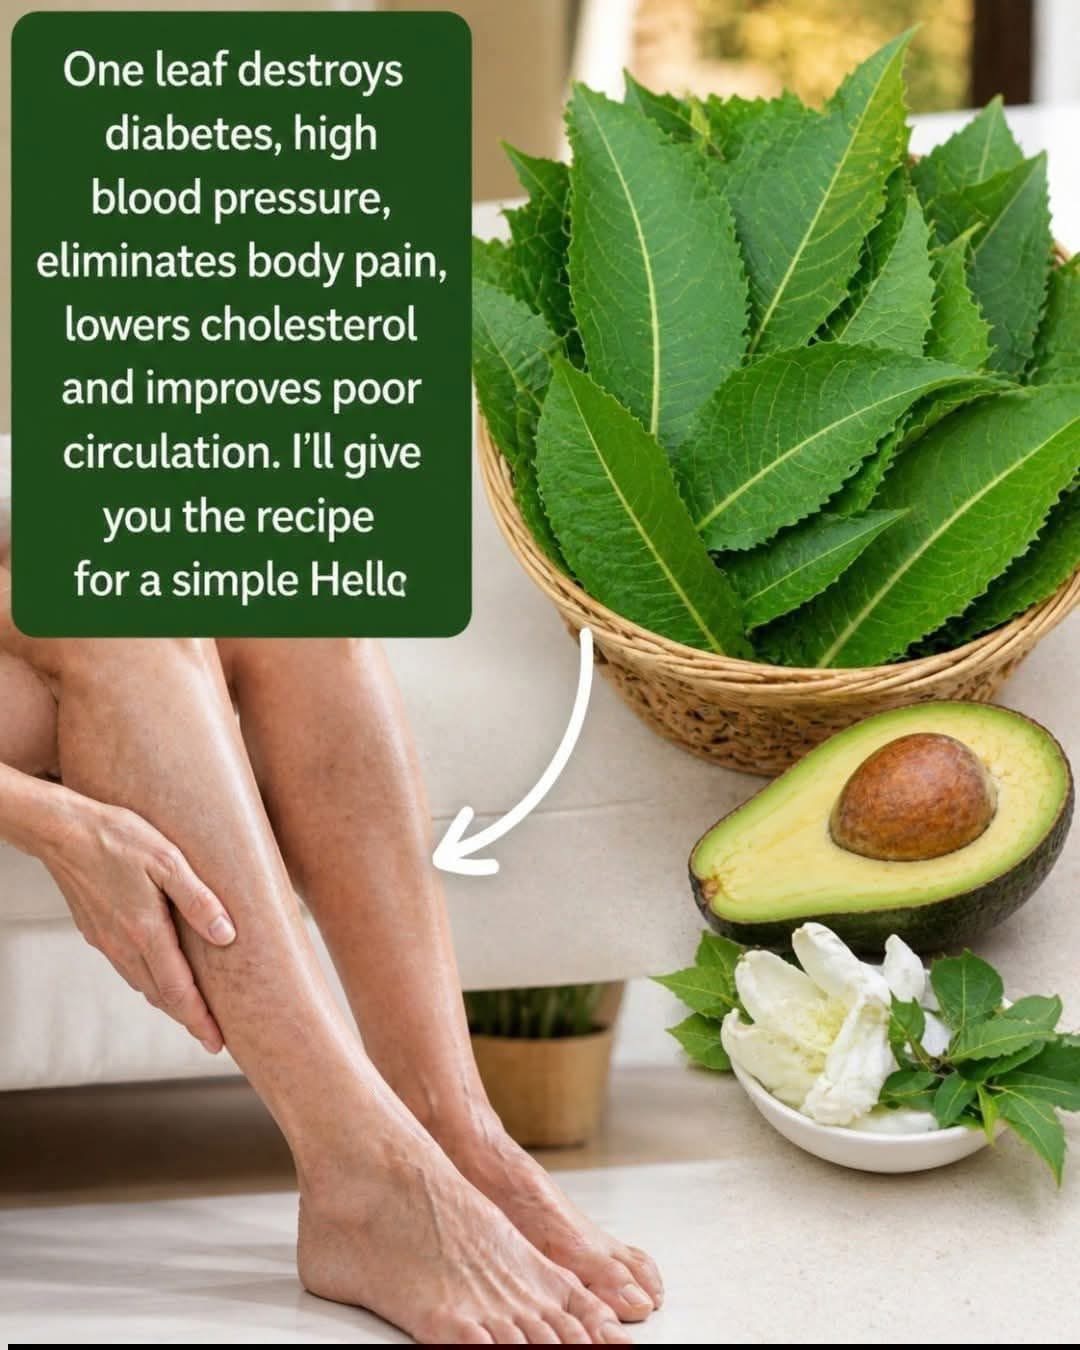
One leaf destroys diabetes
Neem is a medicinal plant that has been used for centuries in traditional health practices across parts of Asia and Africa. Its leaves, bark, seeds, and oil contain compounds that have attracted scientific interest. Many people consume neem leaves or neem tea because they believe it can support overall health and help the body cope…