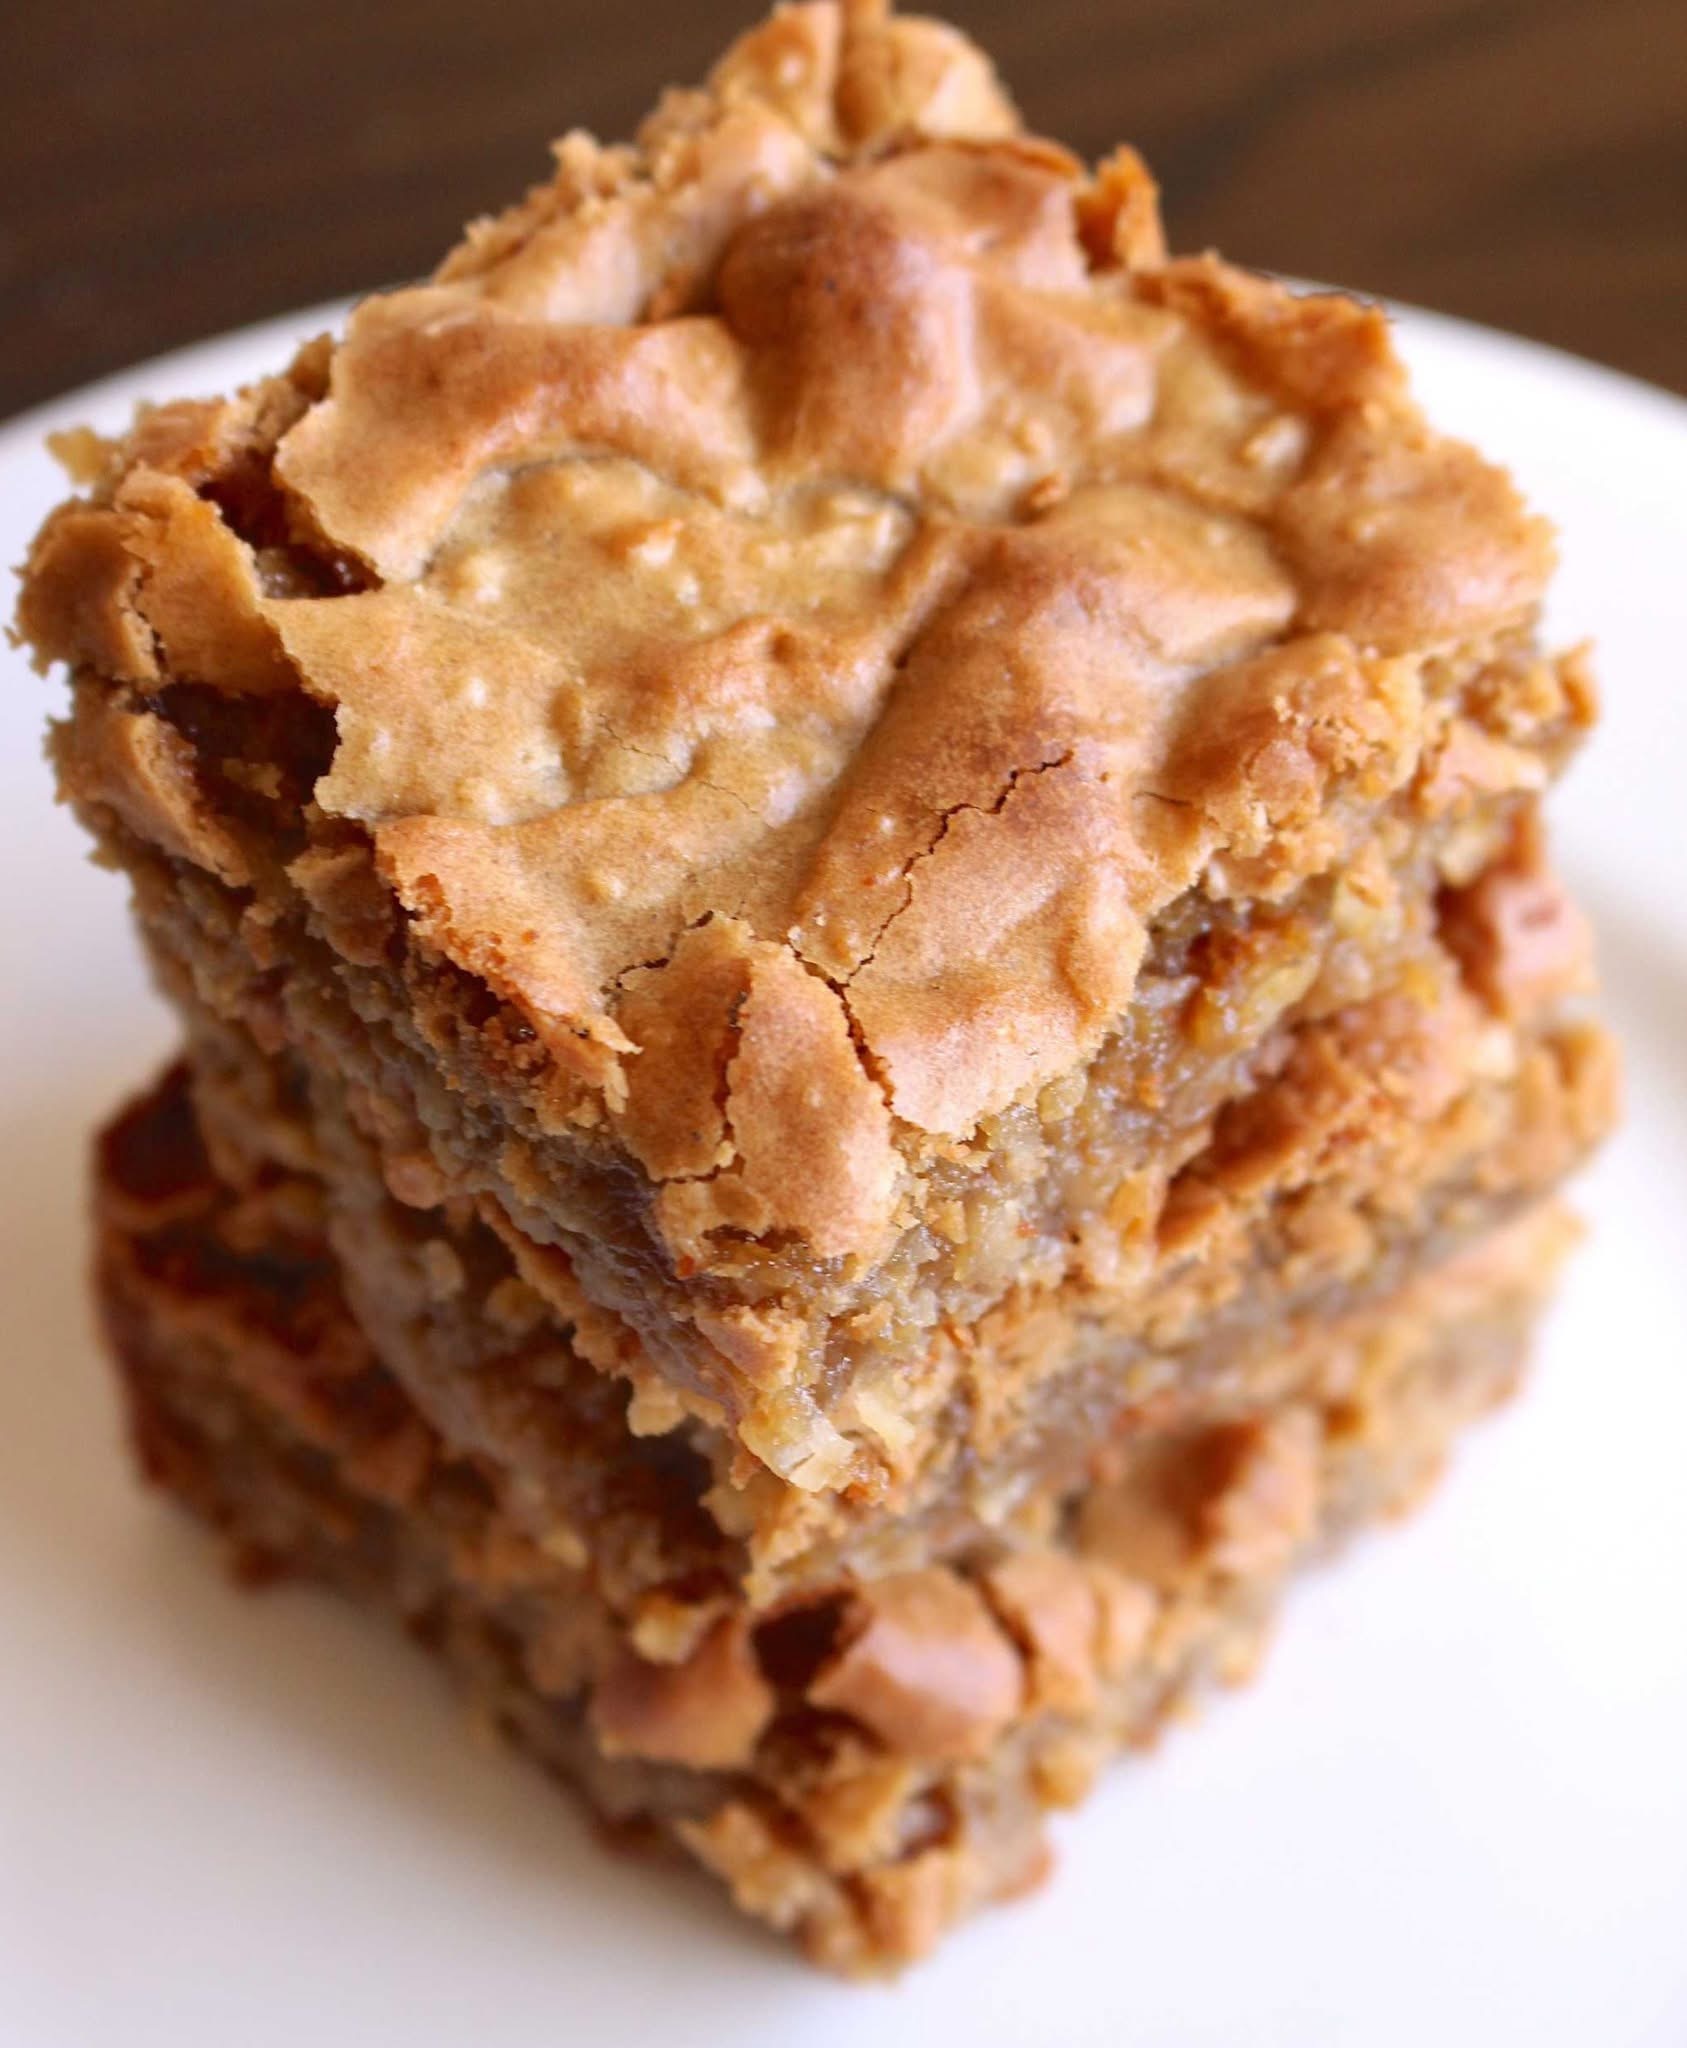
Coconut Chewies Recipe
Coconut Chewies are a delectable, chewy dessert bar that combines the rich flavor of brown sugar with the sweet, tropical taste of shredded coconut.
This dessert is perfect for those who love a soft and chewy texture with a hint of caramelized sweetness from the brown sugar.
Whether you’re looking for a new treat to serve at a party, a sweet snack, or a dessert to enjoy with a cup of coffee, these Coconut Chewies will satisfy your cravings.
Let’s walk through the ingredients, preparation process, and some helpful tips to ensure your Coconut Chewies turn out perfectly!
Ingredients
To make these delightful Coconut Chewies, you will need the following ingredients:
½ cup butter: Butter gives the coconut chewies a rich, melt-in-your-mouth texture. It’s also used to create the amber-colored brown butter base that deepens the flavor of the bars.
2 cups brown sugar: Brown sugar adds a deep, caramel-like sweetness that perfectly complements the shredded coconut. It also helps create the chewy texture of the bars.
2 eggs: Eggs help bind the ingredients together and provide moisture to the batter, giving the chewies their soft texture.
2 teaspoons vanilla extract: Vanilla brings out the richness of the other ingredients and adds a warm, fragrant aroma to the bars.
1 ½ cups all-purpose flour: Flour is the base of the batter and provides structure to the chewies. It helps the bars hold together without becoming too dry or crumbly.
1 teaspoon baking powder: Baking powder helps the bars rise slightly during baking, creating a soft, airy texture.
1 teaspoon salt: Salt balances the sweetness and enhances the overall flavor of the bars.
1 ½ cups shredded sweetened coconut: The star ingredient! Sweetened shredded coconut provides a tropical flavor and texture that makes these chewies irresistibly chewy and delicious.
Preparation
Follow these simple steps to create your Coconut Chewies:
Preheat and Prepare the Baking Dish:
Preheat your oven to 350°F (175°C).
Grease an 8×8-inch baking dish with butter or non-stick spray to ensure your bars don’t stick once baked. You can also line the dish with parchment paper for easy removal.
Brown the Butter:
Add the butter to a large saucepan and place it over medium-high heat. Once the butter starts to boil, swirl the pan continuously to prevent the butter from burning.
Keep an eye on it and continue to swirl until the butter turns a rich amber color. This process is known as browning the butter, which imparts a nutty, caramelized flavor to the dessert.
Once the butter reaches the amber color, remove the pan from the heat immediately.
Add Brown Sugar:
While the butter is still warm, stir in the brown sugar. Mix until the sugar is fully integrated into the butter, creating a smooth, syrupy mixture.
Incorporate the Eggs and Vanilla:
Add the eggs and vanilla extract to the butter and brown sugar mixture.
Stir well to combine, ensuring that the eggs are fully incorporated into the mixture. The eggs help create a smooth batter and contribute to the chewiness of the bars.
Add Dry Ingredients:
In a separate bowl, combine the flour, baking powder, and salt. Gradually add the dry ingredients to the wet mixture, stirring until everything is well combined. The batter will be thick.
Fold in the Coconut:
Gently fold the shredded coconut into the batter. This will add texture and the signature coconut flavor to your chewies.
Transfer to the Baking Dish:
Pour the batter into the prepared 8×8-inch baking dish, spreading it out evenly. Smooth the top with a spatula to ensure the bars bake evenly.
Bake:
Bake the Coconut Chewies in the preheated oven for 40-45 minutes. After 30 minutes, cover the dish with aluminum foil to prevent the top from becoming too brown.
Continue baking until the edges are golden and a toothpick inserted into the center comes out clean or with just a few moist crumbs.
Cool and Slice:
Once the bars are done baking, allow them to cool completely in the baking dish. This will help them firm up and make slicing easier. Once cooled, cut them into squares or bars and enjoy!
Tips for Perfect Coconut Chewies
Browning the Butter: The browning of the butter is key to achieving a deep, rich flavor.
Be patient during this step and keep a close eye on the butter to prevent burning. The amber color signals that it’s ready.
Use Sweetened Coconut: Sweetened shredded coconut is essential in this recipe as it adds both flavor and sweetness.
If you prefer a less sweet version, you can use unsweetened coconut, but keep in mind it will change the overall taste of the bars.
Don’t Overmix: When combining the flour with the wet ingredients, be careful not to overmix. Overmixing can lead to dense bars. Stir just until the ingredients are combined.
Check for Doneness: Oven times can vary, so start checking the bars after 40 minutes. The top should be golden brown, and the bars should feel firm when gently pressed.
Chill for Better Cutting: If you want cleaner slices, let the bars cool completely before cutting. You can also place them in the fridge for 30 minutes after cooling to firm them up even more.
Storage
Coconut Chewies are easy to store and keep well for several days. Here’s how to keep them fresh:
At Room Temperature: Store the bars in an airtight container at room temperature for up to 4 days. They should stay soft and chewy.
Refrigeration: If you prefer, you can store the Coconut Chewies in the fridge to prolong their freshness.
Just make sure they’re in an airtight container to avoid them drying out. They can last up to 1 week in the fridge.
Freezing: Coconut Chewies can be frozen for longer storage. Wrap them tightly in plastic wrap or aluminum foil and place them in a freezer-safe container or bag.
They can be frozen for up to 3 months. To thaw, simply leave them at room temperature for 30 minutes or heat them gently in the microwave.
Serving Suggestions
Coconut Chewies are a versatile treat that can be enjoyed in various ways:
As a Snack: These chewy bars are perfect as an afternoon snack with a cup of tea or coffee. The combination of coconut and caramelized sugar pairs beautifully with hot beverages.
For Dessert: Serve these Coconut Chewies after dinner as a delightful dessert. They’re also a great addition to any dessert table at a party or holiday gathering.
With Ice Cream: Serve warm Coconut Chewies with a scoop of vanilla ice cream for an indulgent treat. The combination of warm bars and cold ice cream is a crowd-pleaser.
Topped with Whipped Cream: If you’re hosting a party, you can top the bars with a dollop of whipped cream or a drizzle of chocolate sauce for extra flair.
Pair with Fruit: For a fresher option, serve these coconut bars with a side of fresh fruit, such as sliced strawberries or mango. The tropical flavors will complement each other beautifully.
Conclusion
Coconut Chewies are a delightful dessert that combines the rich flavors of brown butter, sweetened coconut, and vanilla into a chewy, melt-in-your-mouth treat.
They’re easy to make, requiring minimal ingredients and effort, but the result is a flavor-packed dessert that will have everyone coming back for more.
Whether served on their own, paired with ice cream, or enjoyed with a hot beverage, Coconut Chewies are sure to become a new favorite in your recipe collection.
-

It looks like I’ve had cosmetic surgery”: a home remedy used to improve the appearance
Your hands work hard every day. From cooking and cleaning to typing and driving, they rarely get a break. Because of this constant use, the skin on the hands often shows signs of aging before other parts of the body. Many people notice dryness, fine lines, rough texture, and a loss of softness as they…
-

TOMATO JUICE BENEFITS FOR HEALTH: THE RED DRINK THAT BOOSTS YOUR HEART, SKIN & MORE
Here is a rewritten and expanded version organized into 20 clear paragraphs: Tomato juice is often overlooked compared to popular health drinks like green juice or coconut water, yet it offers a dense nutritional profile that has attracted growing scientific interest. Made from pressed and sometimes cooked tomatoes, tomato juice retains many of the beneficial…
-
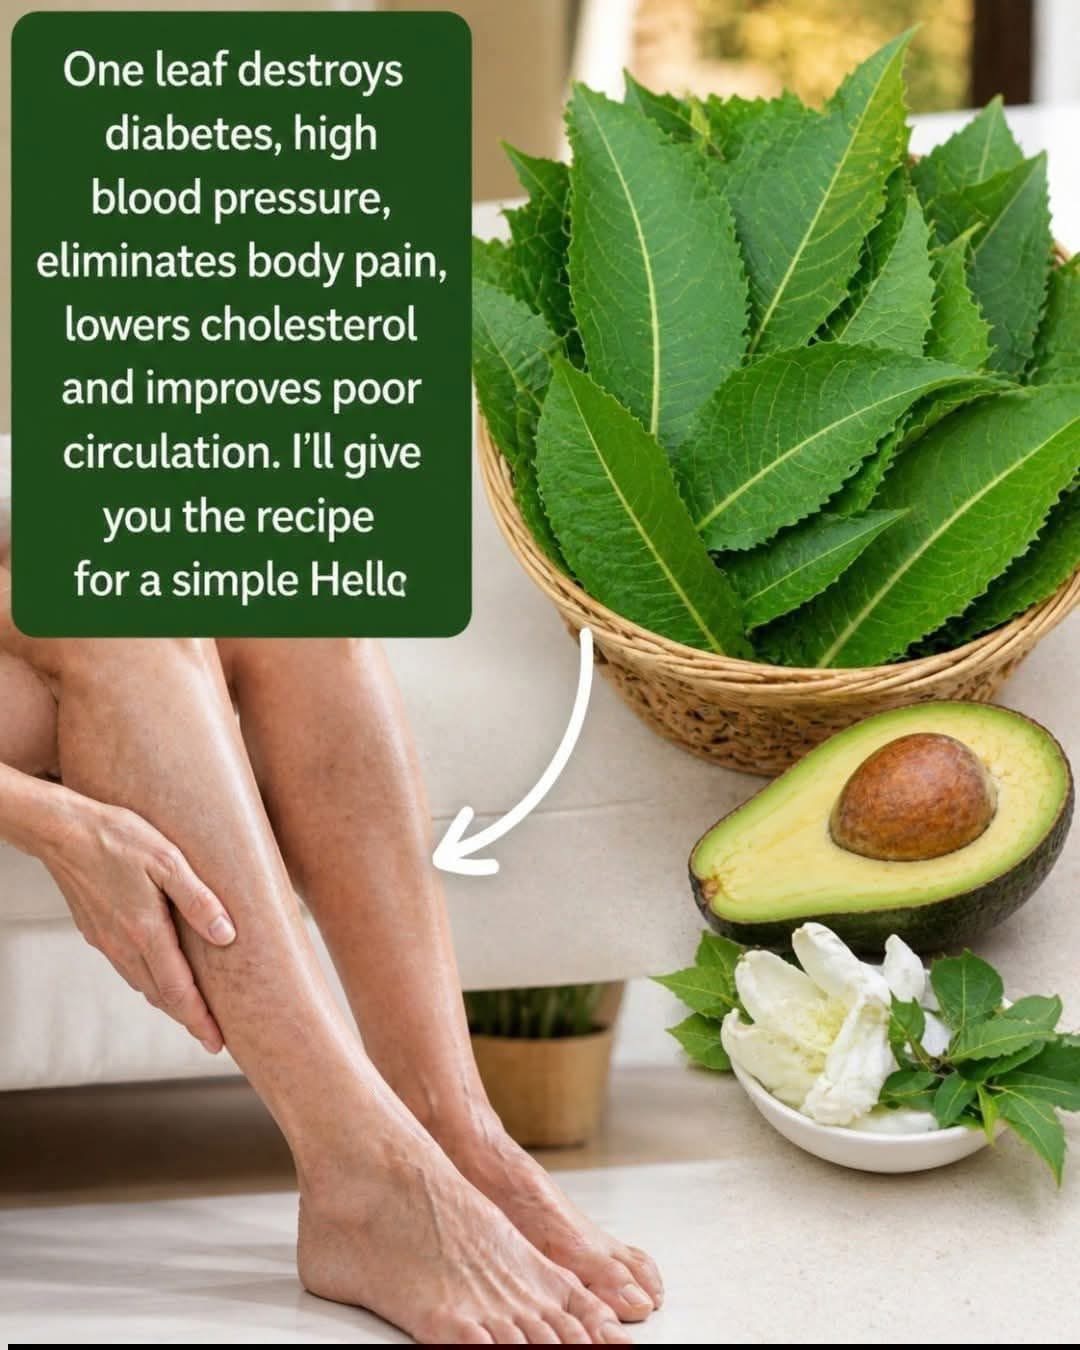
One leaf destroys diabetes
Neem is a medicinal plant that has been used for centuries in traditional health practices across parts of Asia and Africa. Its leaves, bark, seeds, and oil contain compounds that have attracted scientific interest. Many people consume neem leaves or neem tea because they believe it can support overall health and help the body cope…