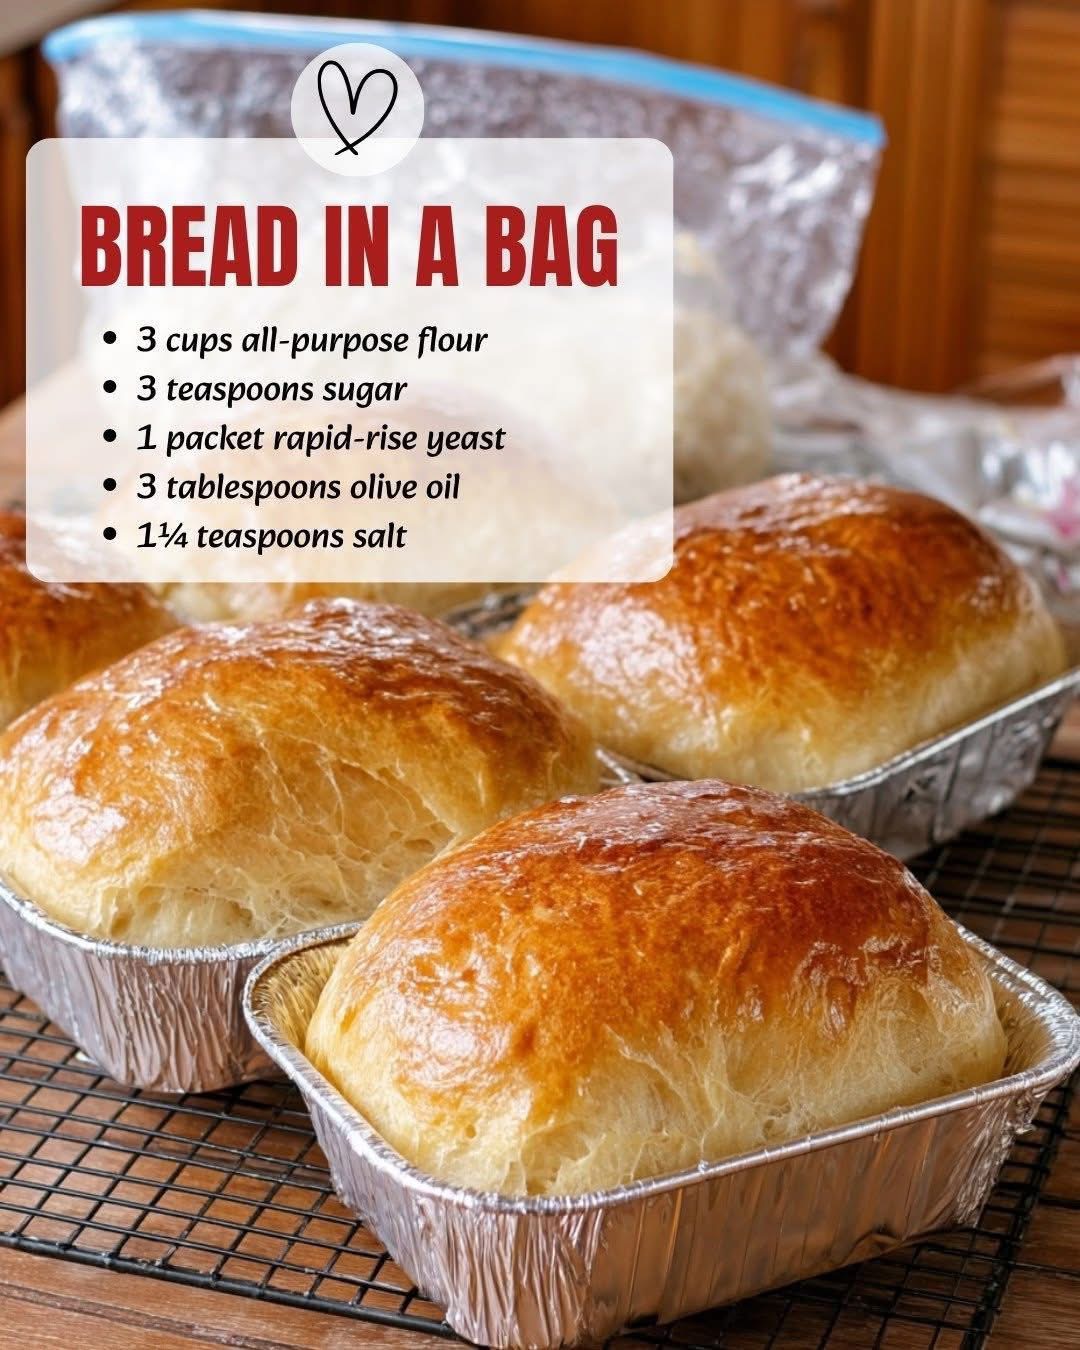
Homemade bread has always been associated with comfort, warmth, and tradition. The smell of freshly baked bread filling the kitchen is something that instantly creates a feeling of home and relaxation. For many people, however, baking bread can seem complicated and time-consuming.
That’s exactly where the “Bread in a Bag” method comes in. This simple and clever technique removes the stress from baking and makes the entire process accessible to everyone, even complete beginners.
Instead of using multiple bowls, mixers, and messy surfaces, everything happens inside a single bag. This keeps your kitchen clean while making the process fun and interactive.
The beauty of this method is that it requires minimal effort but still delivers impressive results. You get soft, fluffy bread with a golden crust without traditional kneading.
It’s also a great activity to do with children. Mixing and squeezing the dough inside a bag feels more like play than work, making it perfect for family time.
This recipe uses basic pantry ingredients that are easy to find. Flour, yeast, sugar, salt, olive oil, and warm water come together to create something truly satisfying.
The first step is activating the yeast. When combined with warm water and sugar, the yeast becomes bubbly and alive, which is essential for the dough to rise properly.
Temperature plays a key role here. If the water is too hot, it can kill the yeast, and if it’s too cold, the yeast won’t activate correctly.
Once the yeast is ready, the dry ingredients are added directly into a strong freezer bag. This eliminates the need for mixing bowls entirely.
After adding the yeast mixture and olive oil, the bag is sealed tightly. Then comes the most enjoyable part: mixing by hand from outside the bag.
By squeezing and pressing the bag, the ingredients combine into a cohesive dough. This step is simple and usually takes only a few minutes.
Once mixed, the dough is left to rest and rise inside the bag. During this time, it expands and becomes airy as the yeast does its work.
After the first rise, the dough is gently deflated and transferred to a lightly floured surface. It is then divided into equal portions.
Each portion is shaped into a small loaf. These mini loaves are not only cute but also very practical for serving and storing.
The shaped dough is placed into greased pans and left to rise again. This second rise helps create a light and fluffy texture.
Meanwhile, the oven is preheated to ensure even baking. A properly heated oven is essential for achieving a perfect crust.
Before baking, you can brush the tops with egg wash or milk. This step enhances the color and gives the bread a beautiful golden finish.
The loaves are baked until they turn golden brown and sound hollow when tapped. This is a simple way to check if they are fully cooked.
After baking, the bread must cool on a rack. This step is important because cutting it too early can ruin the texture.
One of the best things about this recipe is its versatility. You can easily customize it with herbs, cheese, or even sweet ingredients.
For a healthier option, part of the white flour can be replaced with whole wheat flour. This adds more fiber while keeping a good texture.
Storage is also simple. The bread can stay fresh at room temperature for several days or be frozen for longer use.
In the end, “Bread in a Bag” is more than just a recipe. It’s a practical, fun, and rewarding way to enjoy homemade bread without the usual complexity.
If you want, I can next:
Turn this into a story-style viral post
Or make it more emotional / luxury tone
Or optimize it for SEO ranking 🔥
-

Traditional Herbal Infusion: A Time-Honored Blend of Soursop, Bay, and Oregano
For centuries, cultures around the world have turned to the wisdom of plants for nourishment, comfort, and wellness support. The practice of steeping leaves, herbs, and botanicals in hot water … Read more
-
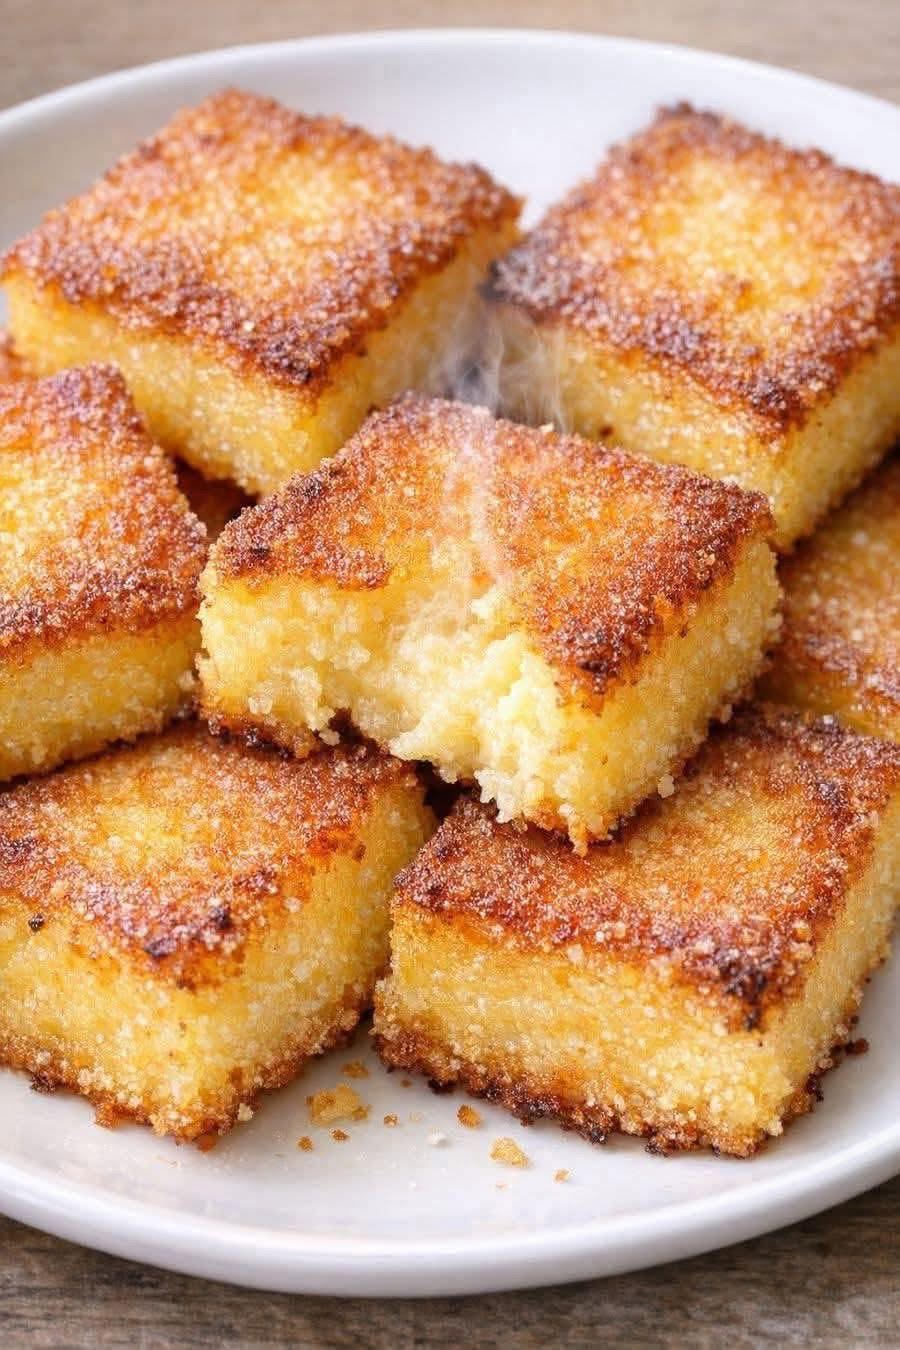
This classic, three-ingredient Depression-era breakfast
This simple cornmeal breakfast carries with it a sense of history, resilience, and warmth that connects generations. It reflects a time when people had very little but still managed to … Read more
-
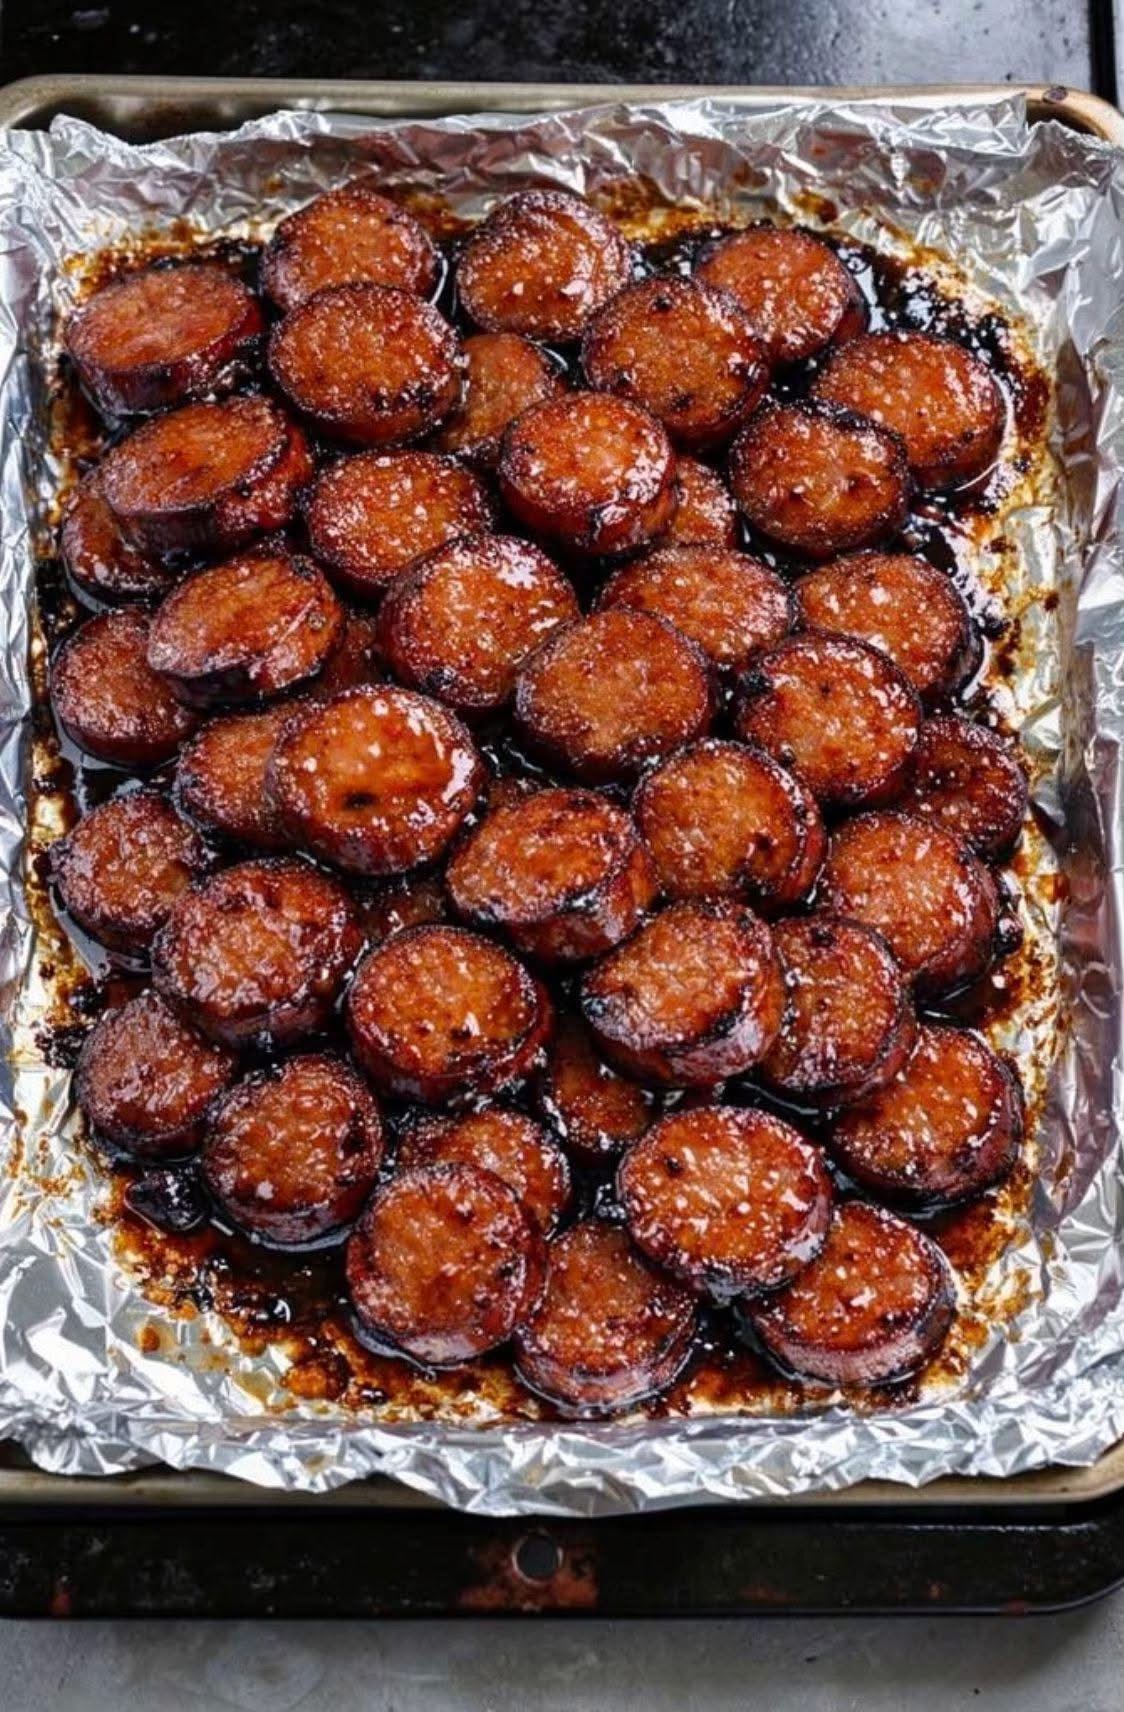
Brown Sugar Kielbasa Bites
Introduction Brown Sugar Kielbasa Bites are a perfect combination of sweet, savory, and slightly tangy flavors, making them an irresistible appetizer for any occasion. 2. These bite-sized sausages are coated … Read more