Here’s an expanded version of Grandma’s Christmas Candy recipe in 17 paragraphs:
1. Introduction to Grandma’s Christmas Candy:
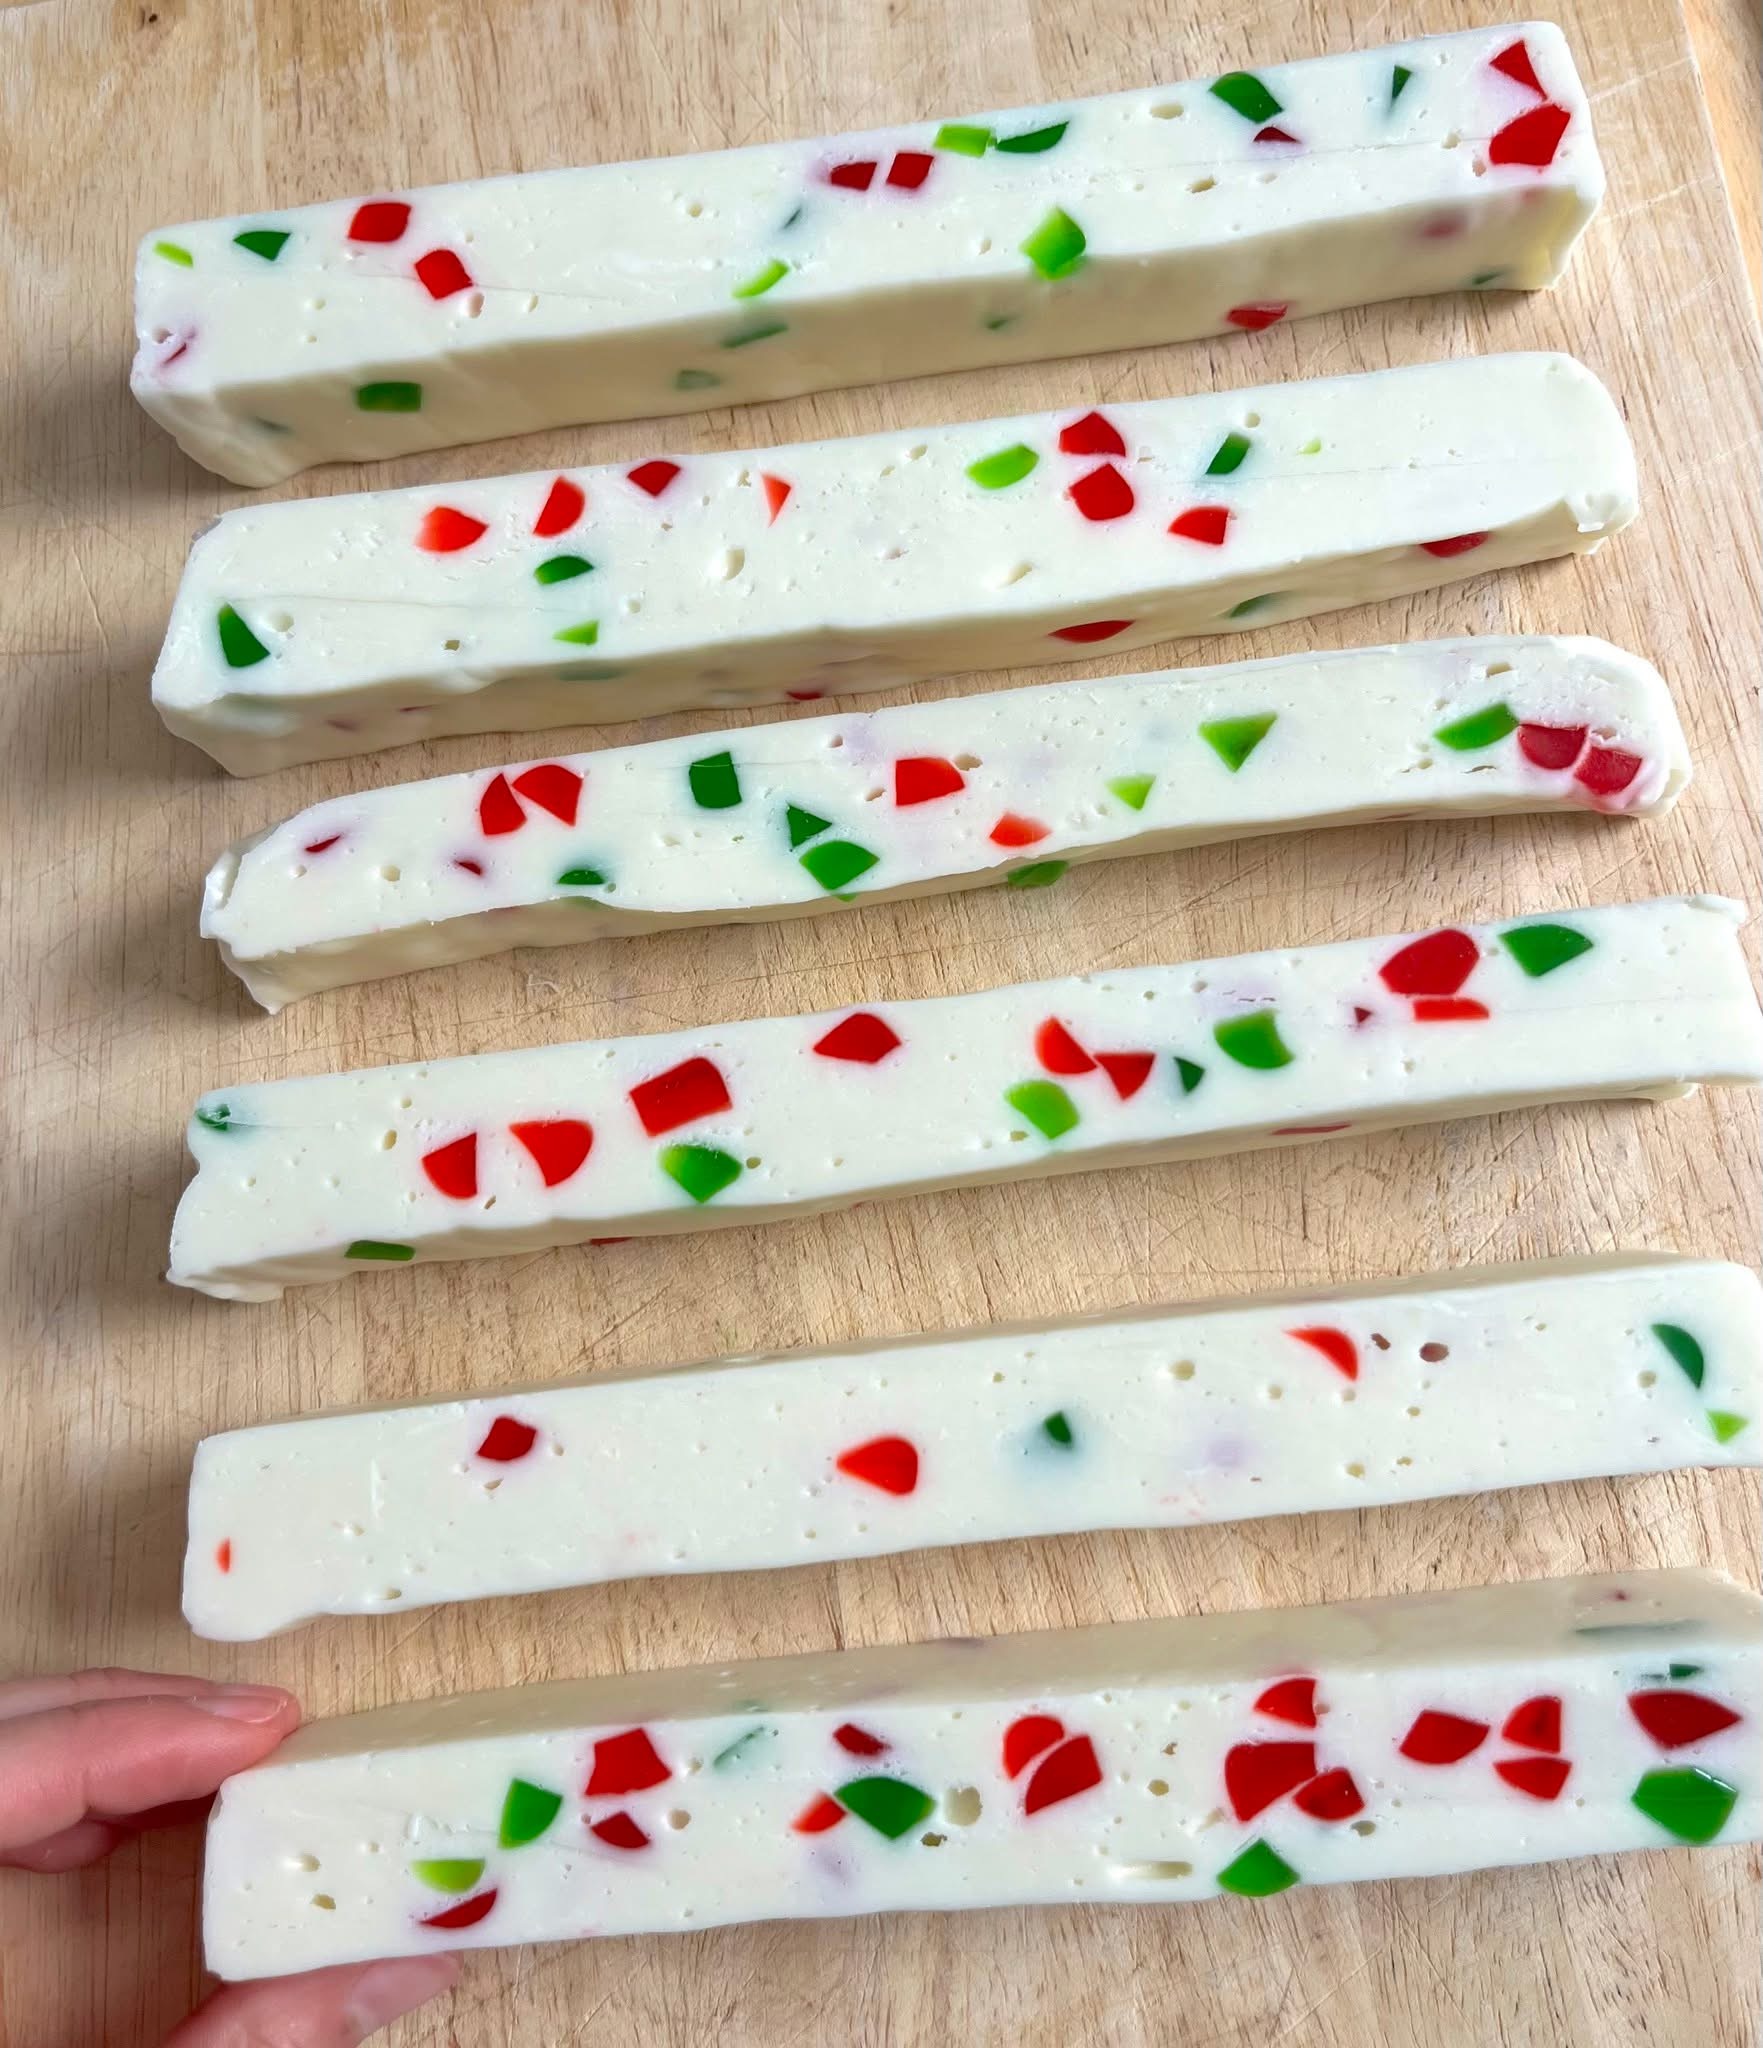
Grandma’s Christmas Candy is a nostalgic holiday treat that combines the creamy richness of white chocolate, the chewy sweetness of marshmallows, and the colorful burst of gumdrops. This easy-to-make candy is perfect for gifting or serving at holiday gatherings. It’s a delightful combination of textures and flavors, making it an instant hit with kids and adults alike.
2. Why This Recipe Works:
The beauty of this recipe lies in its simplicity. You don’t need any fancy equipment or advanced cooking skills. With just a few ingredients and a microwave, you can create a festive treat that looks like it took much longer to prepare. The white chocolate provides a sweet, creamy base, while the marshmallows add a fluffy texture, and the gumdrops bring both color and a chewy bite.
3. Gather Your Ingredients:
Before you get started, make sure you have all the necessary ingredients. You’ll need:
- 2 tablespoons butter
- 1 (12 oz) bag of white chocolate chips
- 1 (10 oz) bag of mini marshmallows
- 1 cup of red and green gumdrops or chewy candy, chopped.
These ingredients are easy to find and are often stocked in stores during the holiday season.
4. Prepare Your Equipment:
First, you’ll need a 8×8-inch baking dish to form your candy. Make sure it’s clean and ready to go. Line it with parchment paper, which makes it easier to lift out the candy once it’s set. A quick spray or grease with butter on the parchment will prevent any sticking, ensuring smooth removal later.
5. Prepare the Microwave for Melting:
In a large microwave-safe bowl, add your butter, white chocolate chips, and mini marshmallows. The microwave will be your main tool in melting these ingredients, so ensure the bowl you use is large enough to prevent any overflow or splattering when they melt.
6. Microwave the Ingredients:
Place the bowl in the microwave and heat the mixture on high for 1 minute. After the first minute, carefully remove the bowl and stir the contents with a greased spatula. Stirring helps to evenly distribute the heat and ensures the ingredients start to blend together smoothly.
7. Continue Melting in Increments:
Return the bowl to the microwave and continue heating in 30-second increments. Each time you take the bowl out, stir it again to help the mixture melt evenly. This process ensures that your white chocolate chips and marshmallows won’t burn or overheat. Be patient as the ingredients gradually come together into a smooth, creamy mixture.
8. The Right Consistency:
You’ll know your mixture is ready when the white chocolate chips and marshmallows are completely melted and combined into a smooth, thick consistency. The melted butter will create a silky texture, while the marshmallows add a slight fluffiness to the mixture. This is the base of your candy, and it should look shiny and smooth.
9. Cooling the Mixture:
Once your mixture is smooth and well-mixed, let it cool for about 1 minute. The slight cooling helps prevent the candies from melting when added. It also allows the mixture to thicken a bit, so the gumdrops won’t sink to the bottom when they are folded in.
10. Folding in the Gumdrops:
After cooling for a minute, it’s time to fold in the chopped gumdrops (or other chewy candies). Use a spatula to gently fold the gumdrops into the white chocolate-marshmallow mixture. This step is important because it ensures that the candies are evenly distributed throughout the mixture without being crushed.
11. Transferring to the Baking Dish:
Once the gumdrops are folded in, transfer the entire mixture to the prepared baking dish. It’s important to act quickly at this stage, as the mixture may begin to set slightly as it cools. Use the spatula to spread the candy evenly across the dish, making sure it forms a flat, even layer. Press it gently into the corners to make sure everything is well-distributed.
12. Setting the Candy:
Once the mixture is spread evenly, cover the baking dish with plastic wrap. The wrap will protect the candy as it chills and prevents it from absorbing any odors in the refrigerator. Place the dish in the fridge and let the candy set for at least 4 hours. You can also leave it overnight for a firmer set.
13. Checking for Firmness:
After the candy has chilled for several hours, remove it from the fridge and check to make sure it has set properly. The candy should be firm to the touch and hold its shape. If it still feels soft or sticky, allow it to chill for a little longer.
14. Removing the Candy from the Dish:
Once your candy is fully set, lift the entire slab out of the baking dish using the parchment paper. This step makes it easy to remove the candy without it sticking to the pan or breaking apart. Be gentle as you lift to avoid any cracks in the candy.
15. Cutting the Candy into Pieces:
With the candy lifted out of the dish, remove the parchment paper and place the slab on a clean surface. Use a sharp knife to cut the candy into small, bite-sized pieces. The candy will be slightly chewy from the marshmallows and gumdrops, so make sure your knife is sharp enough to cut cleanly.
16. Storing the Candy:
Once your candy is sliced, place the pieces in an airtight container. Store the candy at room temperature for a few days, or refrigerate it for a longer shelf life. This candy can last up to a week if stored properly, though it’s so tasty that it’s unlikely to last that long!
17. Serving and Enjoying:
Grandma’s Christmas Candy is now ready to be enjoyed. These sweet, chewy treats are perfect for holiday parties, family gatherings, or as a thoughtful homemade gift. The combination of white chocolate, marshmallows, and gumdrops makes each bite festive and delicious. Enjoy it alongside your favorite holiday beverages and share the joy with loved ones!
This expanded version should provide a more in-depth and thoughtful guide to making Grandma’s Christmas Candy, with each step explained thoroughly. Enjoy making this festive treat!
-
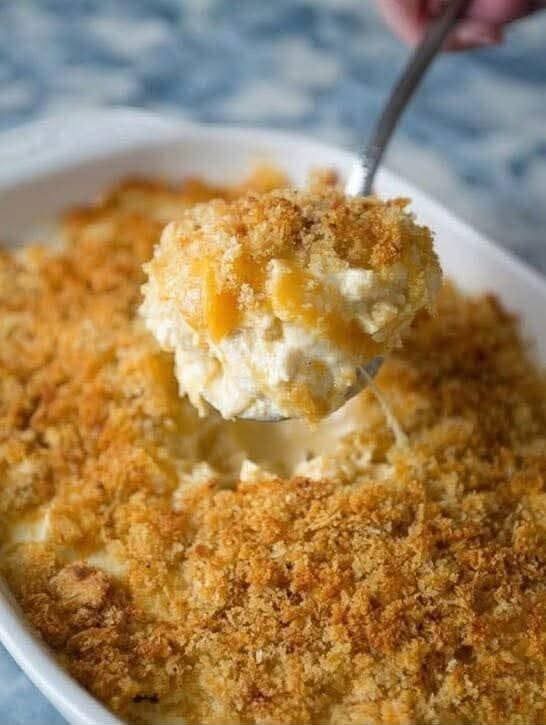
Dolly Partons 5 Ingredient Casserole: The Ultimate Southern Comfort Dish
Dolly Parton’s 5 Ingredient Casserole: The Ultimate Southern Comfort Dish When it comes to heartwarming, no-fuss meals, few dishes capture the essence of Southern comfort quite like Dolly Parton’s 5 … Read more
-
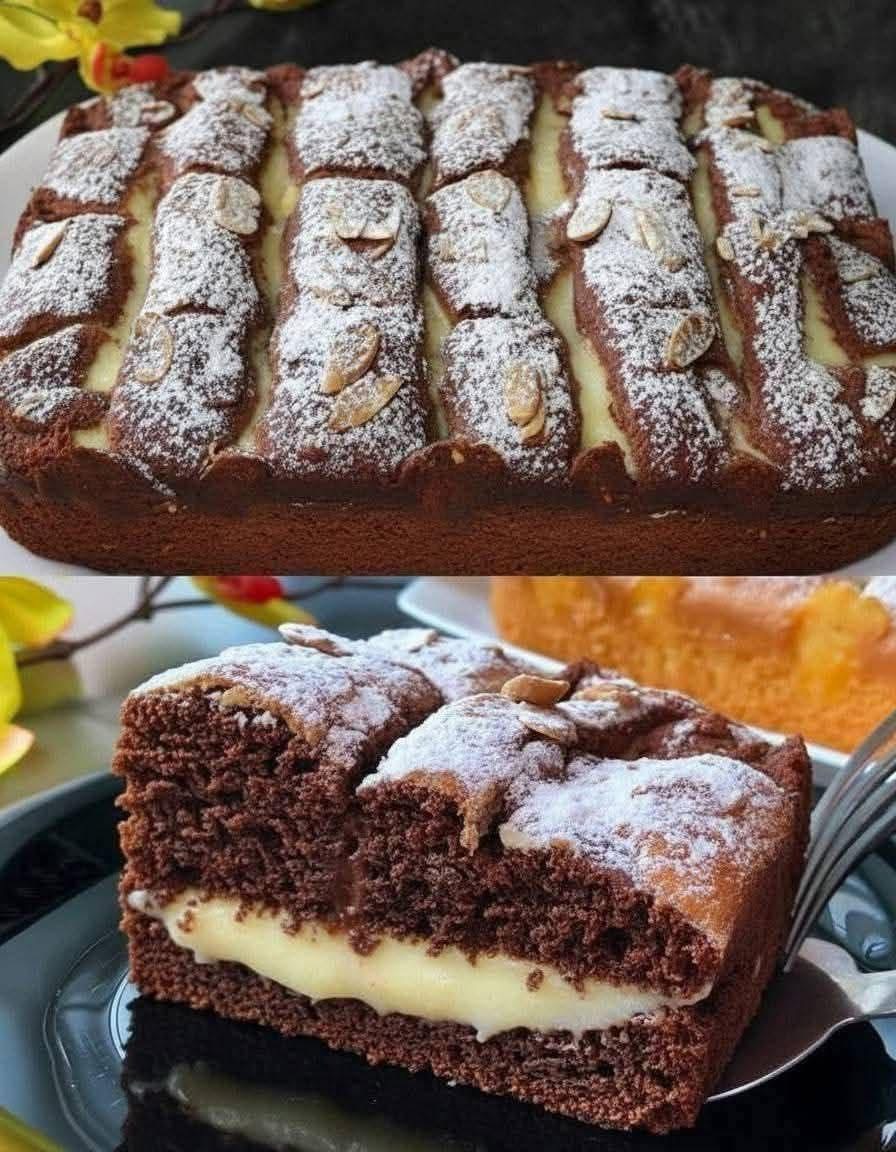
Chocolate Cake with Creamy Filling: A Decadent Dessert You’ll Love
There’s something undeniably comforting about a rich, moist chocolate cake layered with a light, creamy filling. This Chocolate Cake with Creamy Filling strikes the perfect balance between indulgence and elegance. … Read more
-
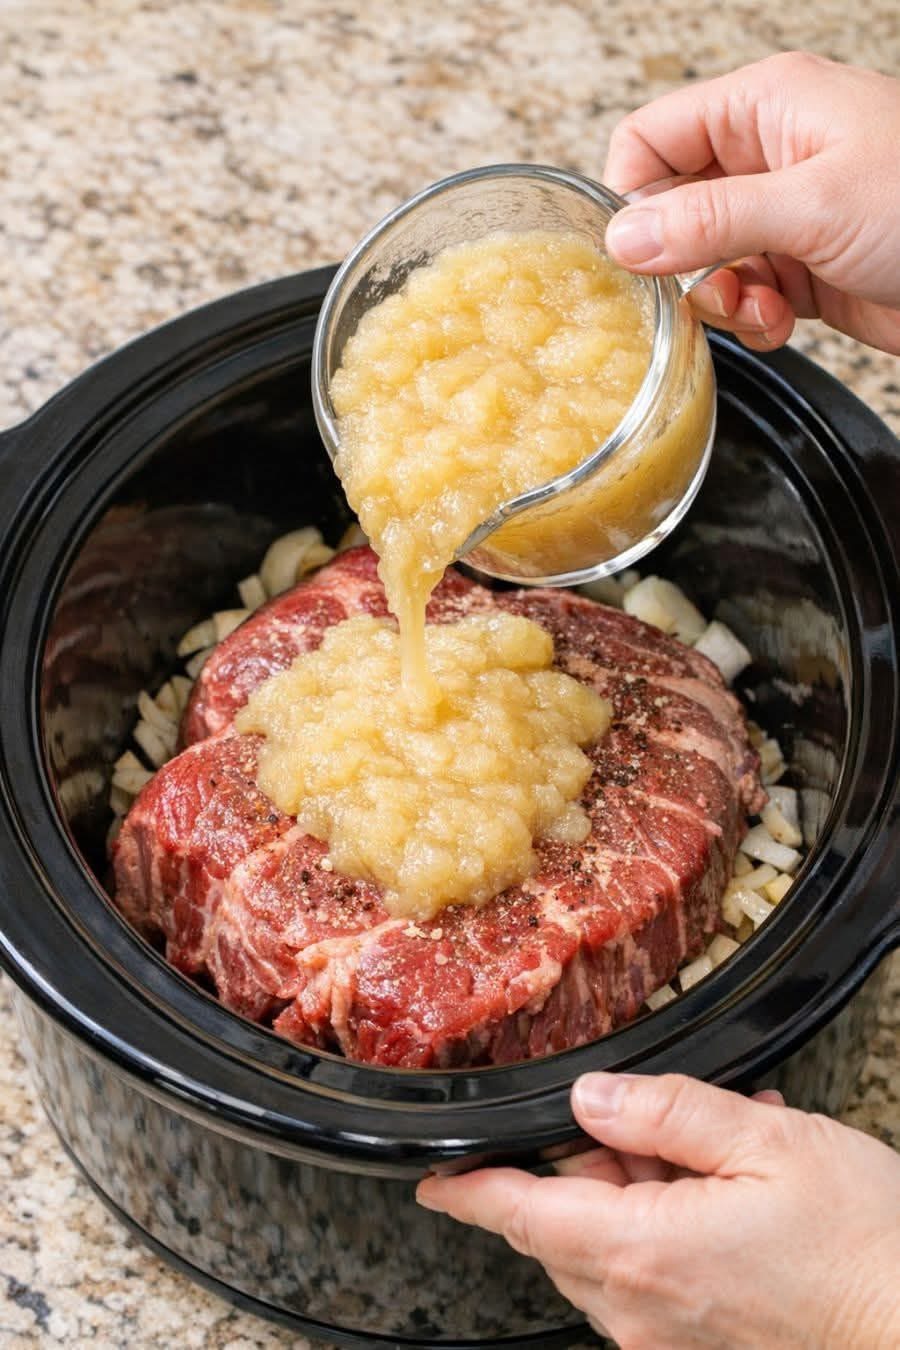
A Comforting Classic with a Sweet and Savory Twist
A Comforting Classic with a Sweet and Savory Twist There’s something deeply comforting about a meal that slowly cooks to perfection while filling your home with rich, mouthwatering aromas. This … Read more