
No-Bake Cherry Cheesecake: A Simple and Delicious Dessert
No-Bake Cherry Cheesecake is a delicious dessert that brings together the creamy richness of cheesecake, the crunch of a graham cracker crust, and the sweet, tart topping of cherry pie filling, all without the need for baking.
This no-bake dessert is perfect for anyone who loves cheesecake but wants a quick and easy recipe that doesn’t require an oven.
It’s a versatile treat that can be made ahead of time and is always a crowd-pleaser. Whether you’re looking for a summer dessert, a simple treat for a family gathering, or something to impress at a party, this No-Bake Cherry Cheesecake is sure to hit the mark.
The beauty of this dessert lies in its simplicity. The creamy filling is rich but light, and it pairs wonderfully with the slightly sweet and tangy cherry topping. You can customize the crust, filling, and topping to your liking, but this basic recipe delivers a smooth, indulgent cheesecake with minimal effort.
Best of all, it’s a no-fuss dessert that requires no baking, making it a perfect option for hot weather when turning on the oven is the last thing you want to do.
Introduction
Cheesecake is often associated with time-consuming preparation and baking, but this No-Bake Cherry Cheesecake completely flips that notion.
No need for long hours in the kitchen or an oven—this recipe comes together in no time with just a few ingredients. It’s the perfect way to satisfy a cheesecake craving when you’re short on time but still want something indulgent.
This dessert features a buttery graham cracker crust that’s simple to make and gives the cheesecake the perfect crunchy base. The filling, made with cream cheese and whipped cream, is smooth, rich, and creamy, while the cherry topping adds a sweet and tart contrast. It’s a dessert that works for any occasion, from birthdays to picnics to holiday celebrations. Plus, it can be made ahead of time, making it a great option for stress-free entertaining.
Ingredients
For the crust:
2 cups graham cracker crumbs: These provide the foundation for your cheesecake, offering a sweet, buttery crunch. You can use store-bought graham cracker crumbs or crush your own.
½ cup unsalted butter, melted: The butter helps bind the graham cracker crumbs together and adds richness to the crust.
2 tbsp granulated sugar: The sugar enhances the sweetness of the crust and helps it hold together better.
For the filling:
16 oz cream cheese, softened: The cream cheese creates the smooth, tangy base of the cheesecake. Be sure to soften it before mixing to avoid lumps.
1 cup powdered sugar: This gives the filling the perfect level of sweetness and ensures a smooth texture.
1 tsp vanilla extract: Vanilla adds a warm, sweet flavor that complements the richness of the cream cheese.
2 cups whipped cream or whipped topping: The whipped cream lightens up the filling, creating a fluffy and airy texture that contrasts beautifully with the dense graham cracker crust.
For the topping:
1 can (21 oz) cherry pie filling: The cherry topping adds sweetness, tang, and color to the cheesecake. You can also use fresh cherries or another fruit topping of your choice.
Instructions
1.
Prepare the Crust
In a medium-sized bowl, combine the graham cracker crumbs, melted butter, and granulated sugar. Stir until the mixture is fully combined and the crumbs are evenly coated in butter.
Press the mixture into the bottom of a 9-inch springform pan or a pie dish. Use the back of a spoon to compact the crumbs and form an even, firm crust.
Place the crust in the refrigerator to chill for at least 30 minutes. This step allows the crust to set and firm up, ensuring it holds together when you add the cheesecake filling.
2.
Prepare the Cheesecake Filling
In a large mixing bowl, beat the softened cream cheese with powdered sugar until smooth and creamy. Use an electric mixer on medium speed to ensure there are no lumps and the mixture is velvety.
Add the vanilla extract and mix it in until fully incorporated.
Fold in the whipped cream (or whipped topping) gently using a spatula. Be careful not to deflate the whipped cream—fold it in slowly to maintain a light and fluffy texture.
Once combined, spread the filling evenly over the chilled graham cracker crust. Use a spatula to smooth the top and make it level.
3.
Add the Cherry Topping
Spoon the cherry pie filling evenly over the top of the cheesecake filling. You can use the entire can or just a portion of it, depending on how much topping you prefer.
Spread the cherries out to cover the surface of the cheesecake, and make sure some of the syrup drips into the cheesecake filling for added flavor.
For a more elegant presentation, you can reserve some of the cherries for a decorative garnish before serving.
4.
Chill the Cheesecake
Place the cheesecake in the refrigerator and let it chill for at least 4 hours, or overnight if possible. This chilling time allows the filling to firm up and the flavors to meld together.
If you’re short on time, you can chill it for a few hours, but for the best texture, a longer chilling period is recommended.
5.
Serve
After the cheesecake has set, slice it into wedges or scoop it out into individual servings. Garnish with fresh whipped cream, more cherries, or even some grated chocolate if desired.
Tips for Perfect No-Bake Cherry Cheesecake
Softened cream cheese is key: Make sure your cream cheese is softened before mixing. Cold cream cheese will create lumps in your filling, making it harder to achieve that smooth, creamy texture. Leave the cream cheese out for about 30 minutes before starting the recipe.
For a firmer crust: If you like a firmer, thicker crust, add an extra tablespoon of butter or increase the amount of graham cracker crumbs slightly. Be sure to press the crust mixture down firmly to ensure it doesn’t crumble when serving.
Use real whipped cream for a fluffier texture: While whipped topping is convenient, using freshly whipped heavy cream gives the filling a richer, fluffier texture. Just make sure to whip it to stiff peaks before folding it into the cream cheese mixture.
Customize your topping: While cherry pie filling is a classic choice, feel free to swap it for other fruit fillings like blueberry, strawberry, or raspberry. You can also add fresh fruit on top for a more natural option.
Make it in advance: This cheesecake is ideal for making ahead of time. It actually tastes even better the next day after the flavors have had time to meld, so don’t hesitate to prepare it a day or two before your event.
Storage
This No-Bake Cherry Cheesecake stores well in the refrigerator. Keep it covered with plastic wrap or aluminum foil and store it in the fridge for up to 4 days. If you want to keep it longer, you can freeze individual slices. Wrap each slice in plastic wrap and place it in a freezer-safe container. When ready to serve, thaw in the refrigerator for several hours or overnight. It’s best to freeze the cheesecake without the topping, then add the cherry pie filling after thawing.
Serving Suggestions
Top with fresh whipped cream: If you want to elevate this cheesecake even further, add a dollop of fresh whipped cream on top just before serving. It adds a light, creamy contrast to the richness of the cheesecake.
Add extra fruit: Fresh fruit like raspberries, blueberries, or sliced strawberries would be a beautiful and tasty addition to this dessert. Fresh fruit also offers a refreshing contrast to the sweetness of the cherry topping.
Serve with coffee or tea: The richness of this cheesecake pairs wonderfully with a hot beverage like coffee or tea. Try serving it with a cup of black coffee, green tea, or a spiced chai to balance the dessert’s sweetness.
Garnish with nuts: Chopped toasted nuts such as almonds or pistachios can add an interesting crunch and flavor contrast. Sprinkle a few over the top of the cheesecake before serving for a delightful texture.
Conclusion
This No-Bake Cherry Cheesecake is an easy, delicious dessert that anyone can make, whether you’re an experienced baker or just starting out in the kitchen. With its buttery graham cracker crust, rich and creamy filling, and sweet cherry topping, it’s a perfect dessert for any occasion. It’s quick to prepare, can be made ahead of time, and doesn’t require any baking, making it a go-to dessert for busy days or when you want to impress guests with minimal effort. Simple, indulgent, and always a crowd-pleaser—what more could you ask for?
-
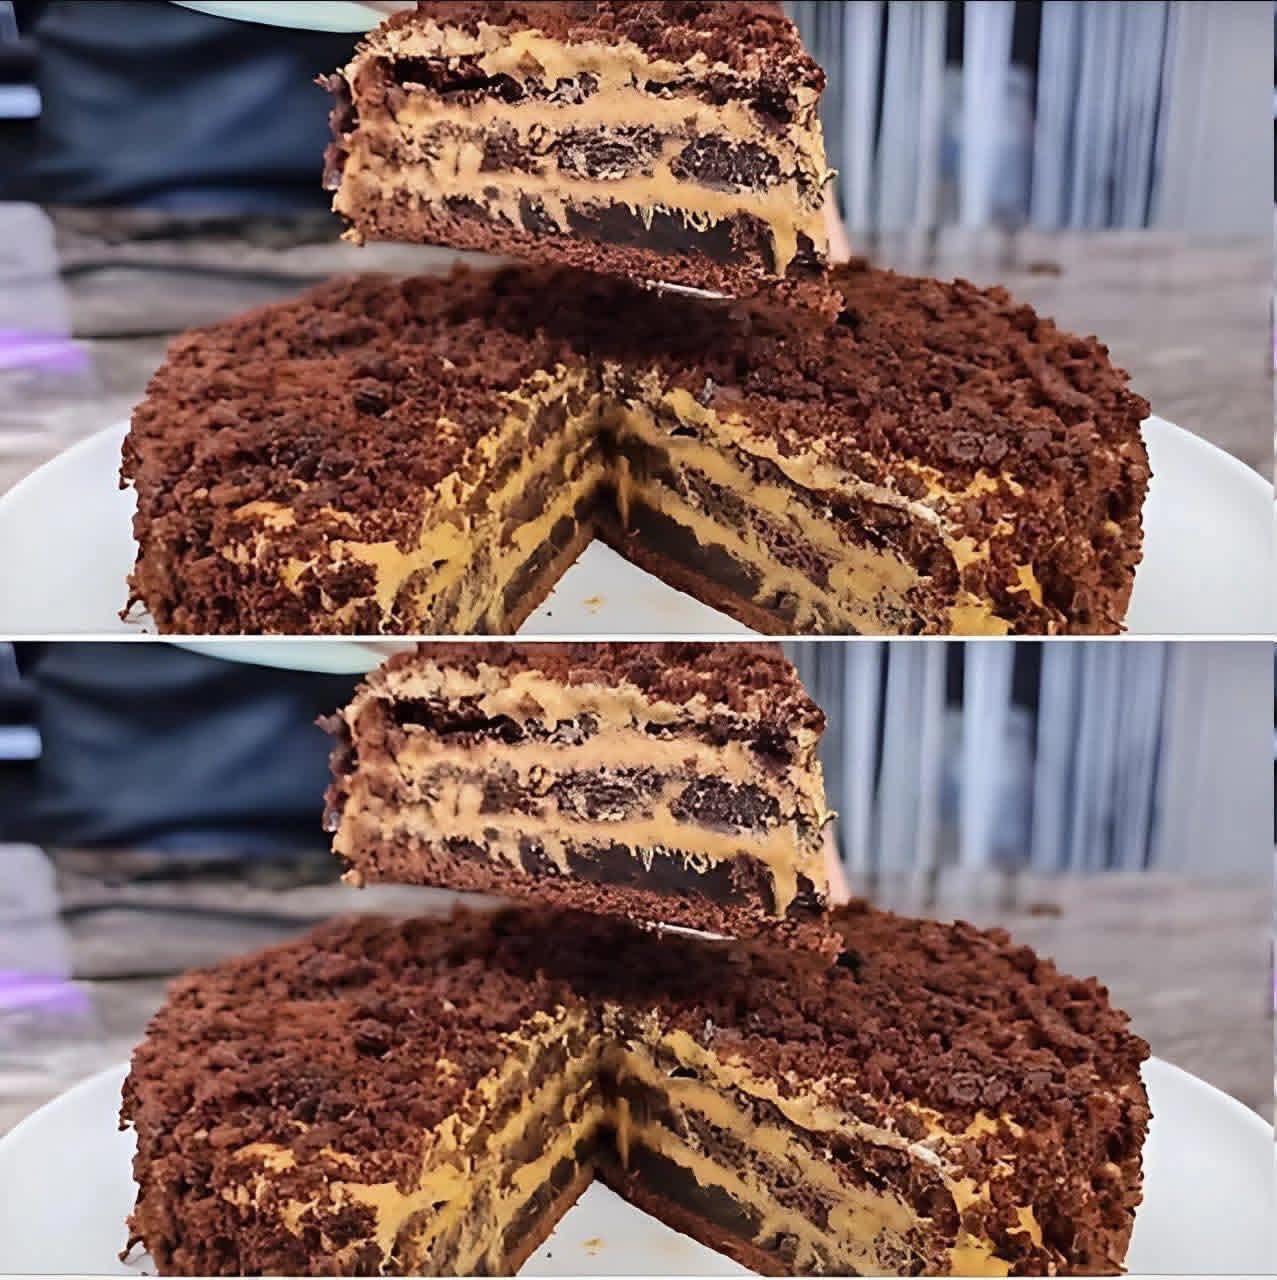
Hit for Every Homemaker Chocolate 3 Cups Cake
The Hit for Every Homemaker Chocolate 3 Cups Cake is the kind of recipe that instantly earns a permanent place in your kitchen notebook. It’s simple, forgiving, budget-friendly, and unbelievably delicious. Built … Read more
-
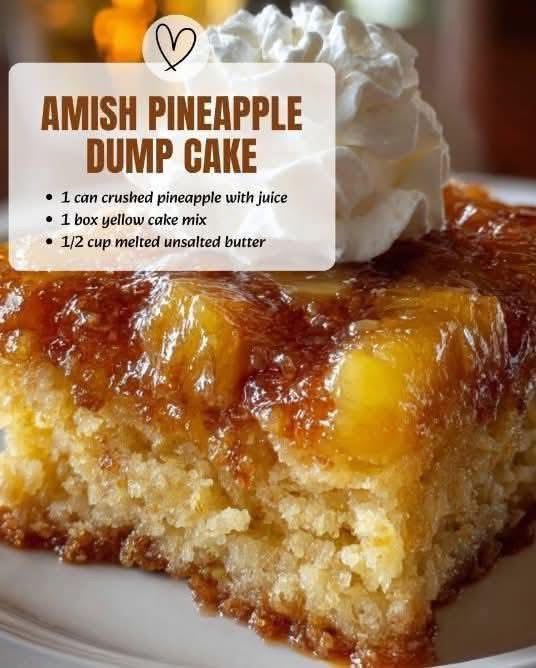
Amish Pineapple Dump Cake Is the Laziest, Most Delicious Dessert You’ll Ever Make
The Anatomy of the Perfect Dump Cake Great Amish pineapple dump cake has four essential components, all achieved through the magic of layering. The Fruit: Crushed pineapple provides sweetness, acidity, … Read more
-

Discover the Simple Japanese Morning Habit That May Help Support Your Colon Health Naturally
Understanding Colon Health and Why It MattersYour colon plays a key role in your body’s waste elimination process, absorbing water and nutrients while moving things along. When things slow down, … Read more